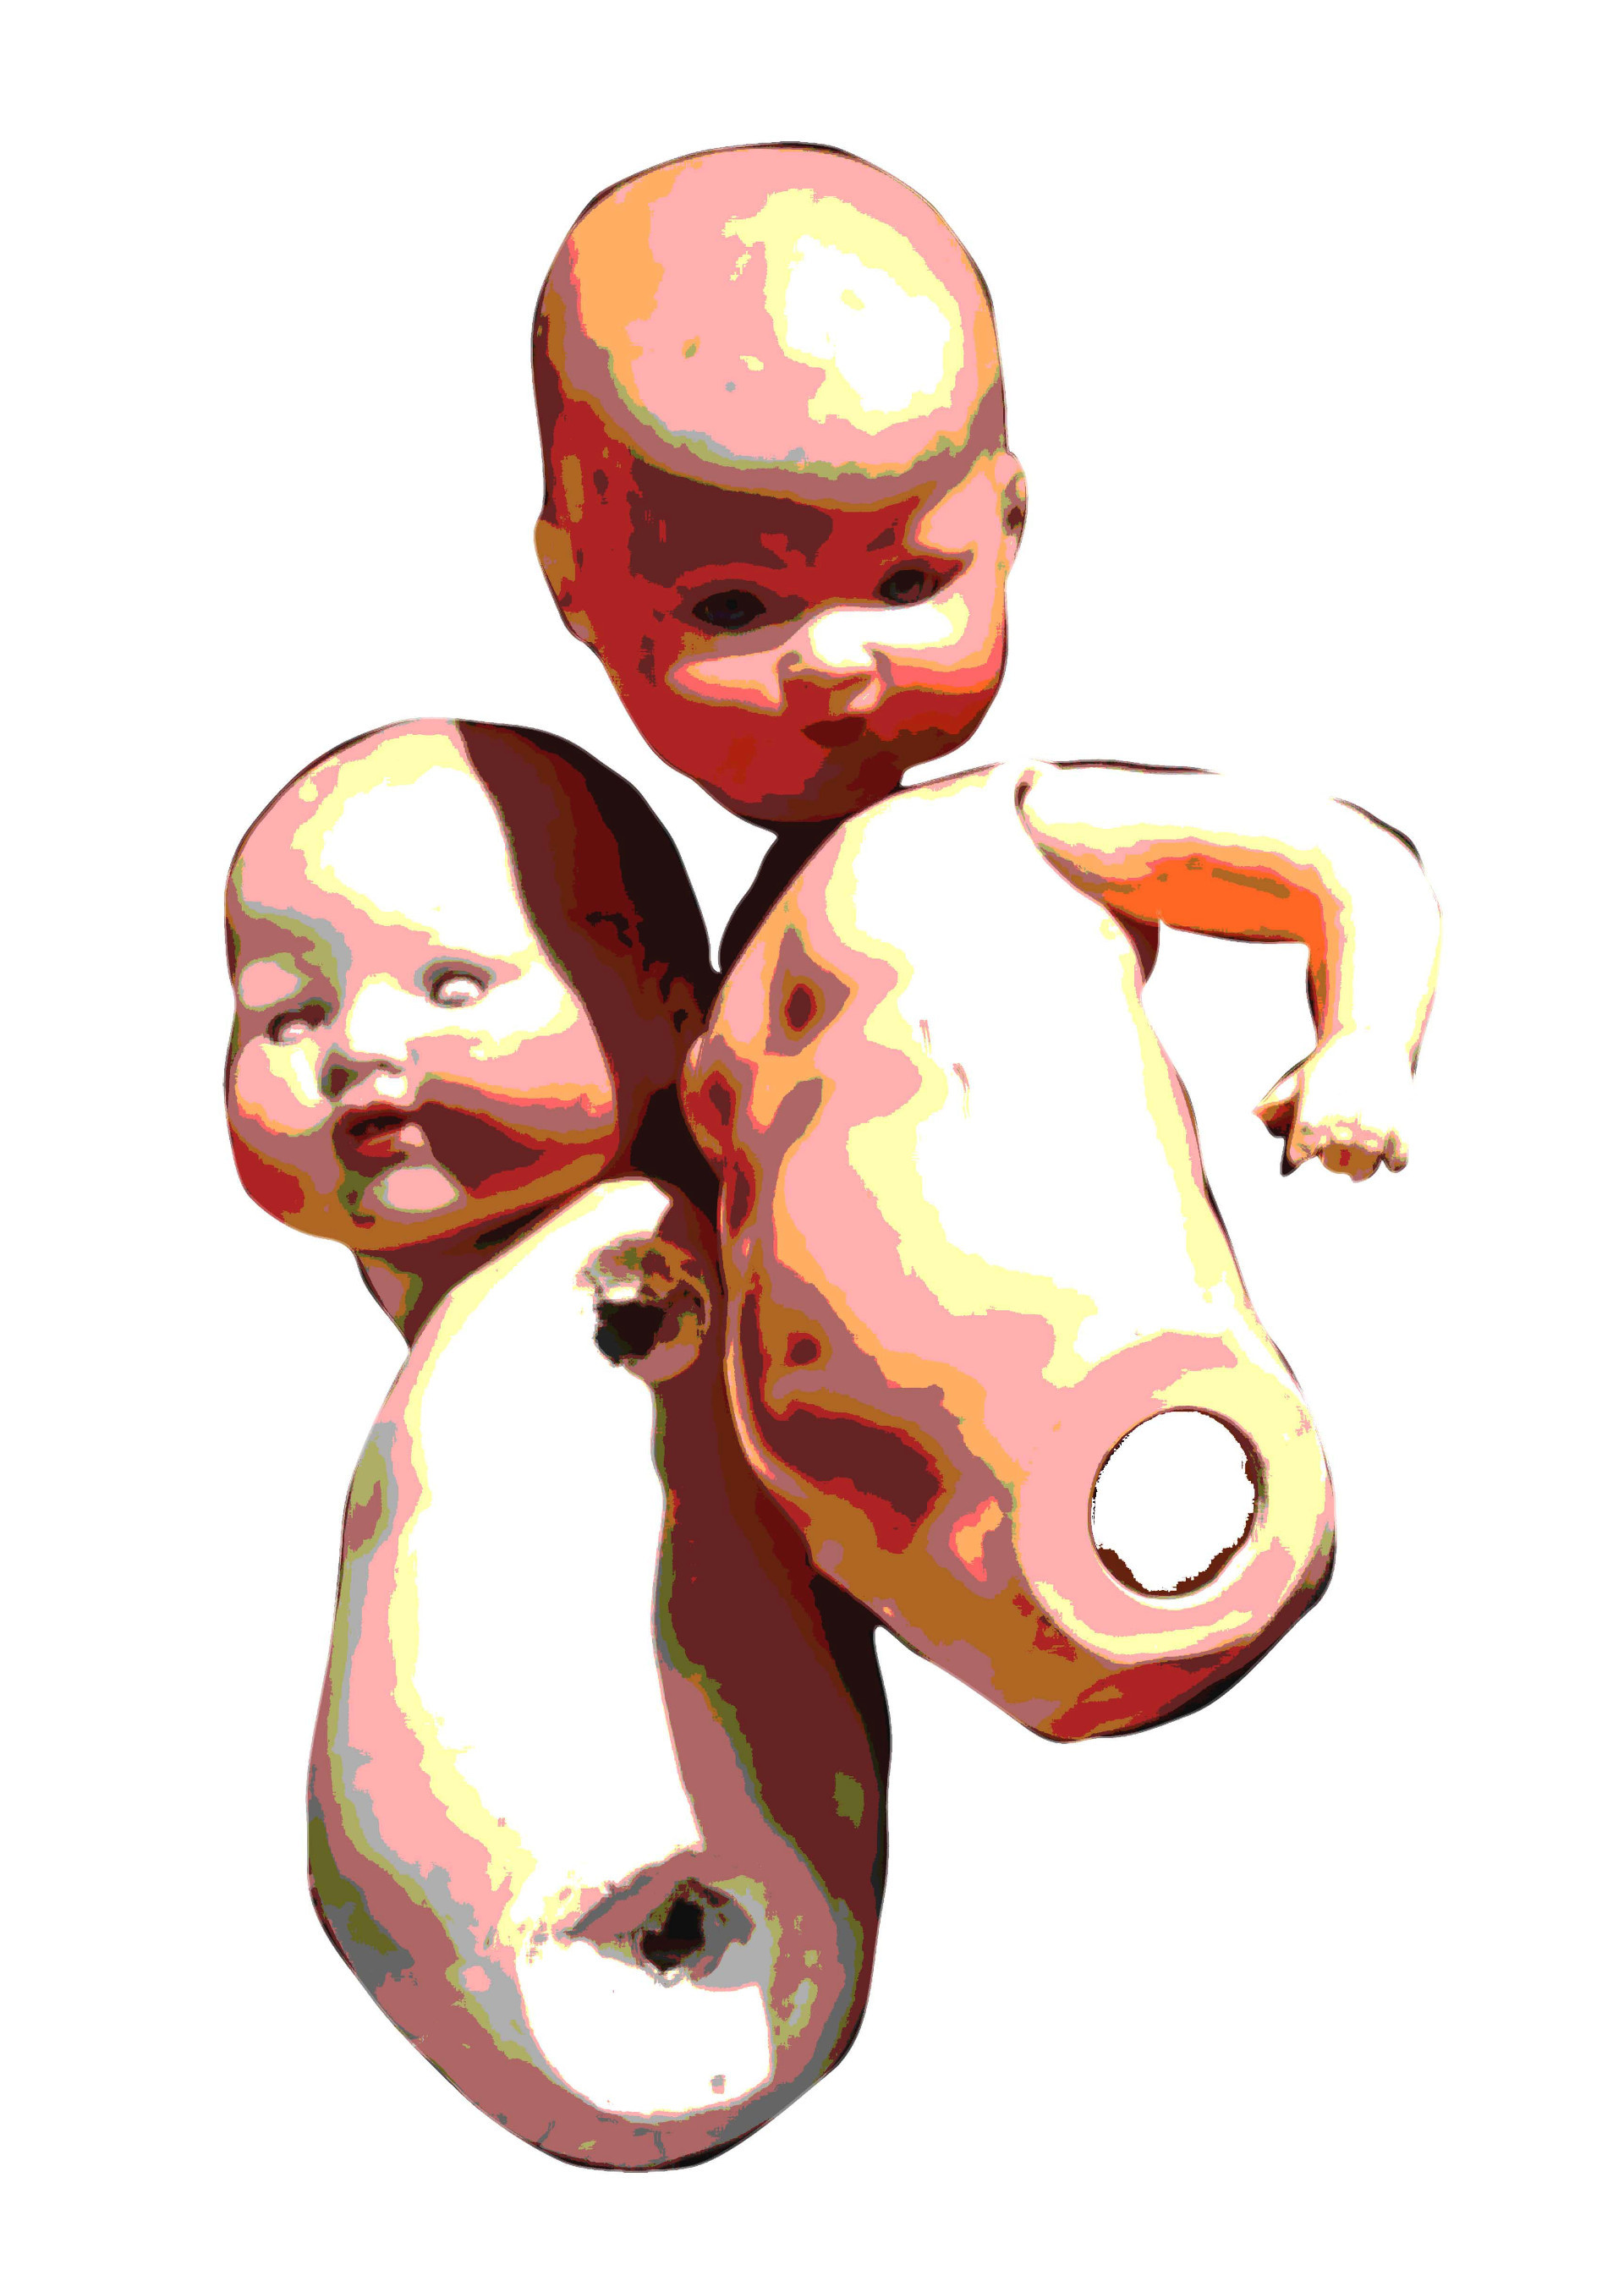
I took this photo of these two broken dolls on my phone at an antiques and collectibles fair some time back in 2015-ish, as they instantly struck me as an interesting and arresting image. Many years later, it became the inspiration for a self-directed project using broken dolls as a metaphor in the exploration of popular notions of child psychology and what constitutes a good and stable upbringing.
It is generally accepted that dolls represent human babies and are gifted to children (usually female) to care for in order to instill notions of parental responsibility and appreciation for that which is more vulnerable than us.
These two, maybe once cherished, dolls, with their damaged, limbless bodies, had been cast aside and abandoned long ago and I remember that the sight of them evoked a range of difficult and conflicting emotions within me at the time; the strongest being a profound sense of sadness and loss.
This image was going to be the 'jumping off' point to explore all those thoughts and feelings on a deeper level whilst also examining the possibilities of a totally new medium I had little experience of; gel plate printing.
This monotype method of printing has been around for a long time and, as far as I was aware, it's use had been purely within the realms of decorative crafts.
However, another artist friend made me look at it differently when he began exploiting the potential of the gel plate to good and interesting effect in his work. Having seen what could be achieved with it, I felt inspired to dive in and see what I could come up with.
Gel plates are widely available to buy via many retail outlets but can be a bit on the pricey side, particularly if wanting to create slightly larger works.
So, I decided to make my own (see pic)
This one measured roughly 30 x 40cm.
For anyone reading this who is interested in learning more about gel plate making and printing, there is a wealth of information about it via google and YouTube that is widely accessible.
The Process
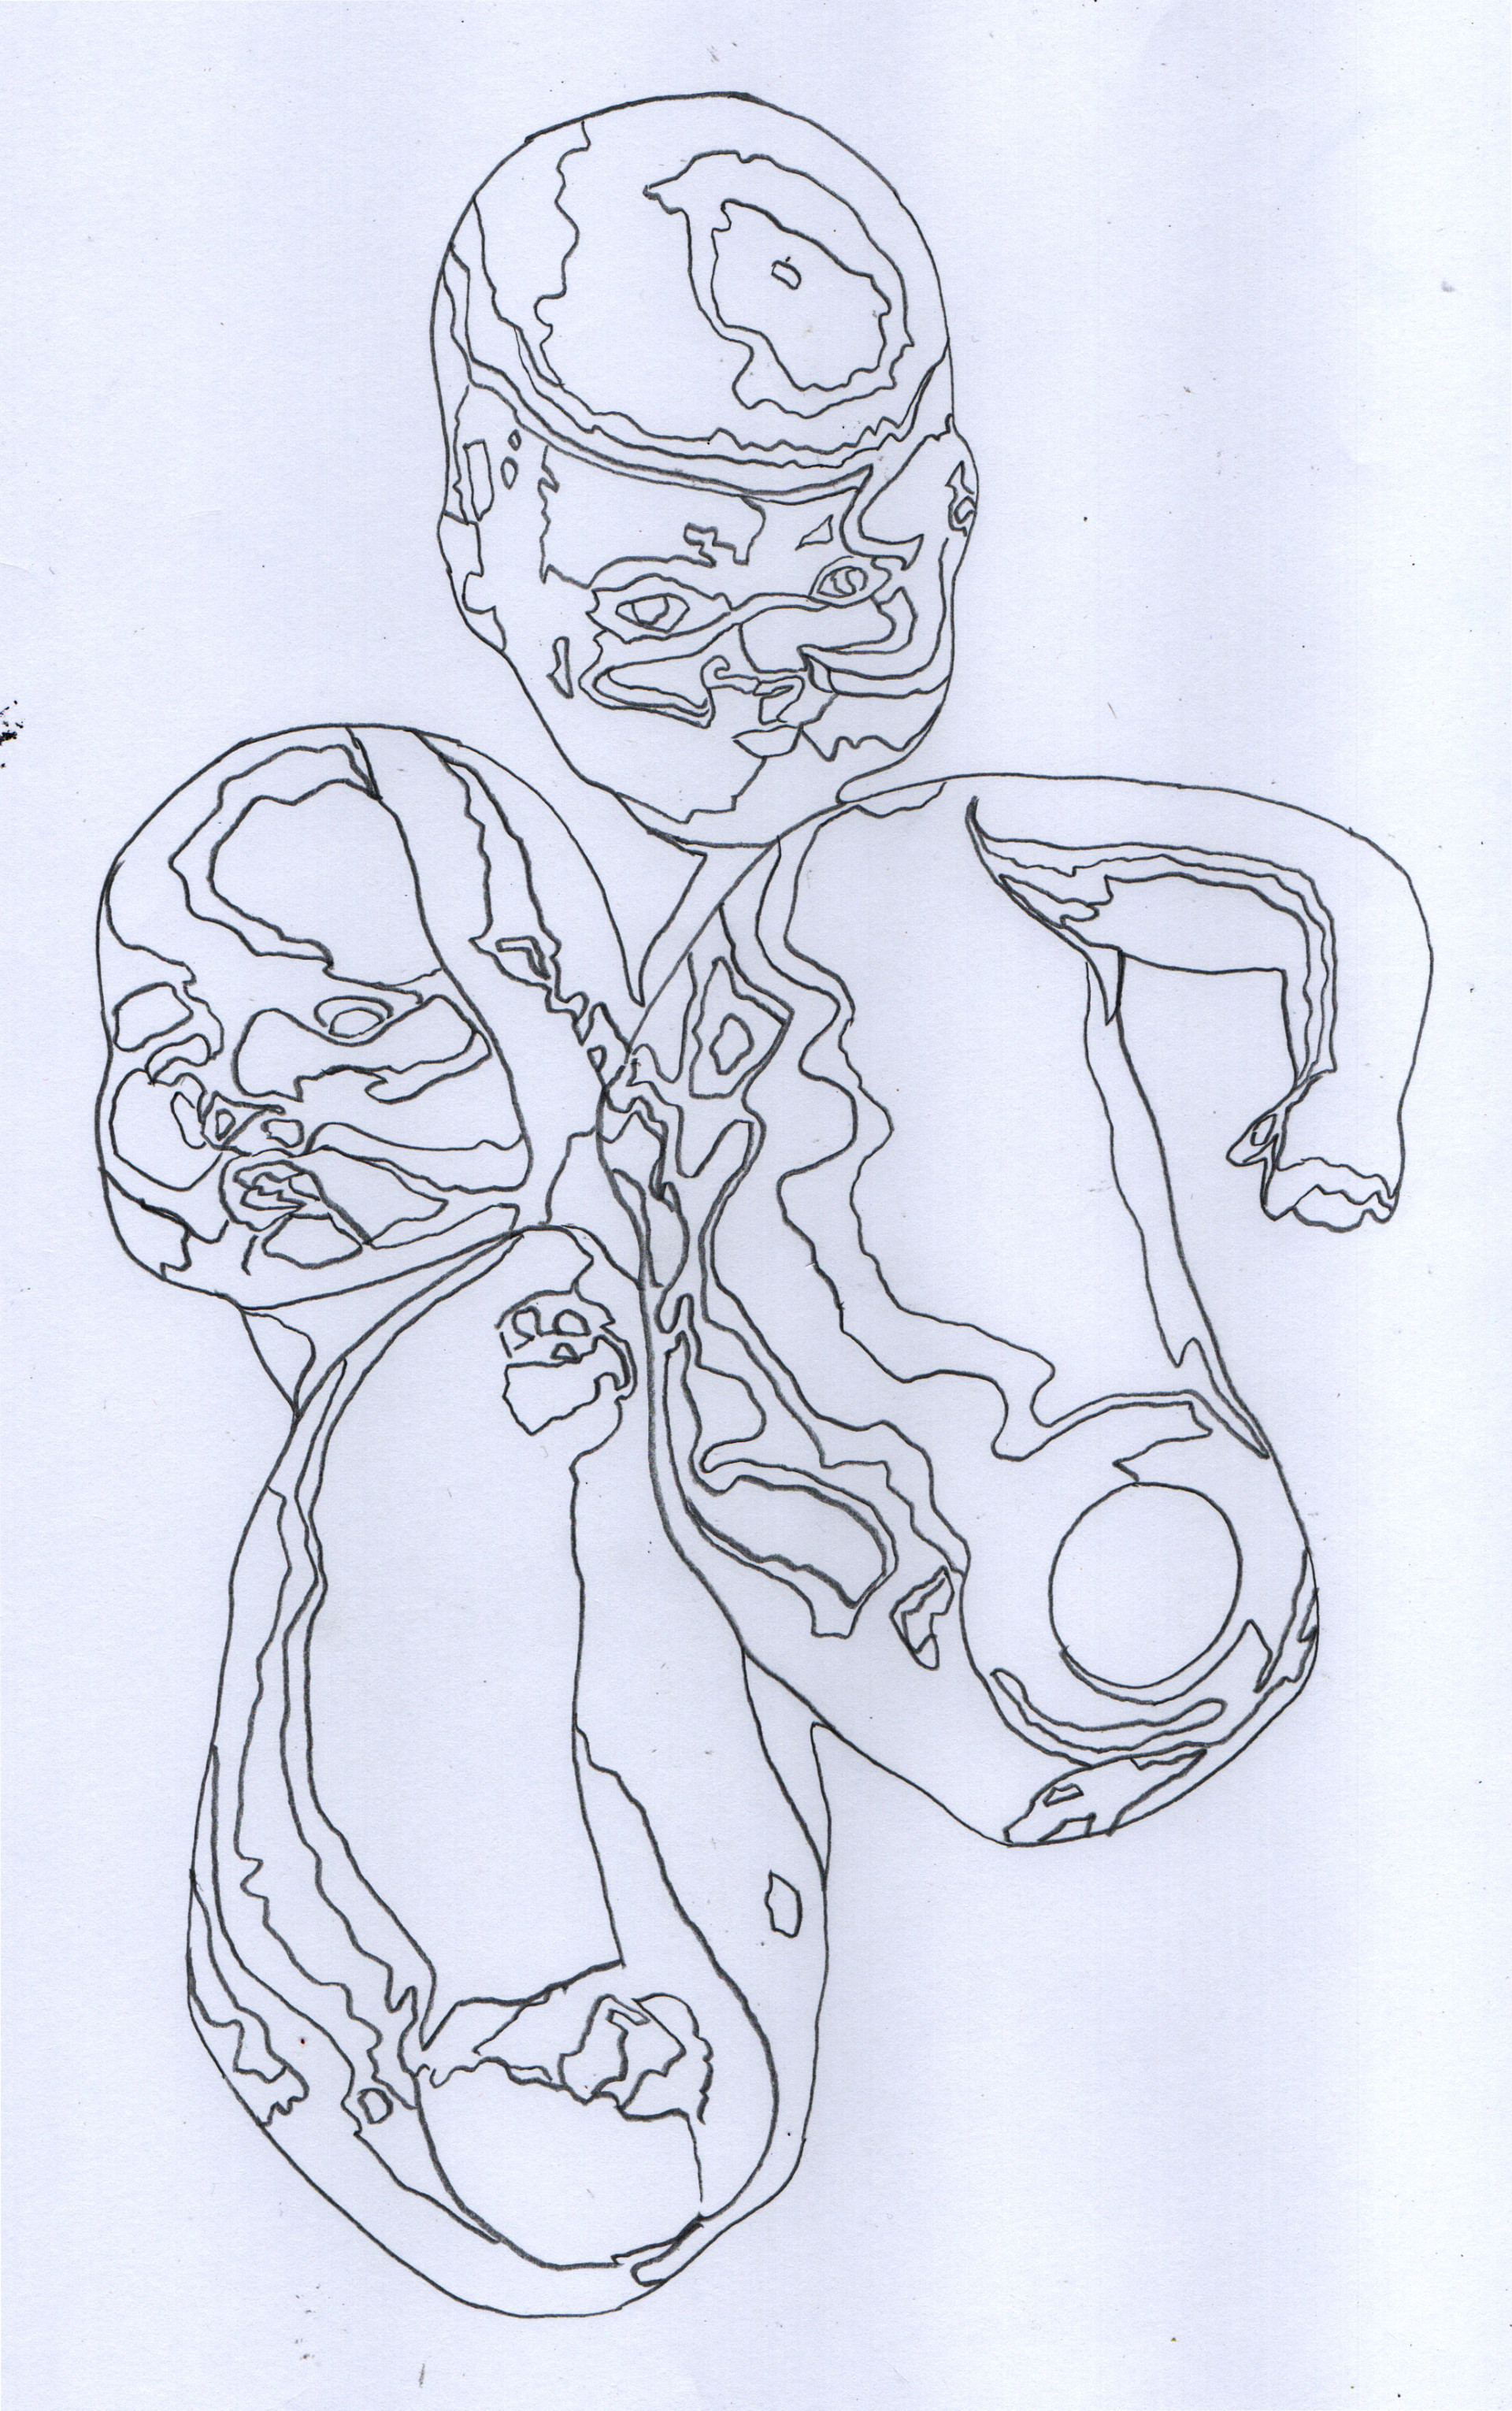
Stage one of the process required some simplification of the reference image which I was able to achieve in Photoshop by effectively creating a colour separation which I then traced onto a semi-transparent mylar sheet using a lightbox. The images below show these two methods in practice.
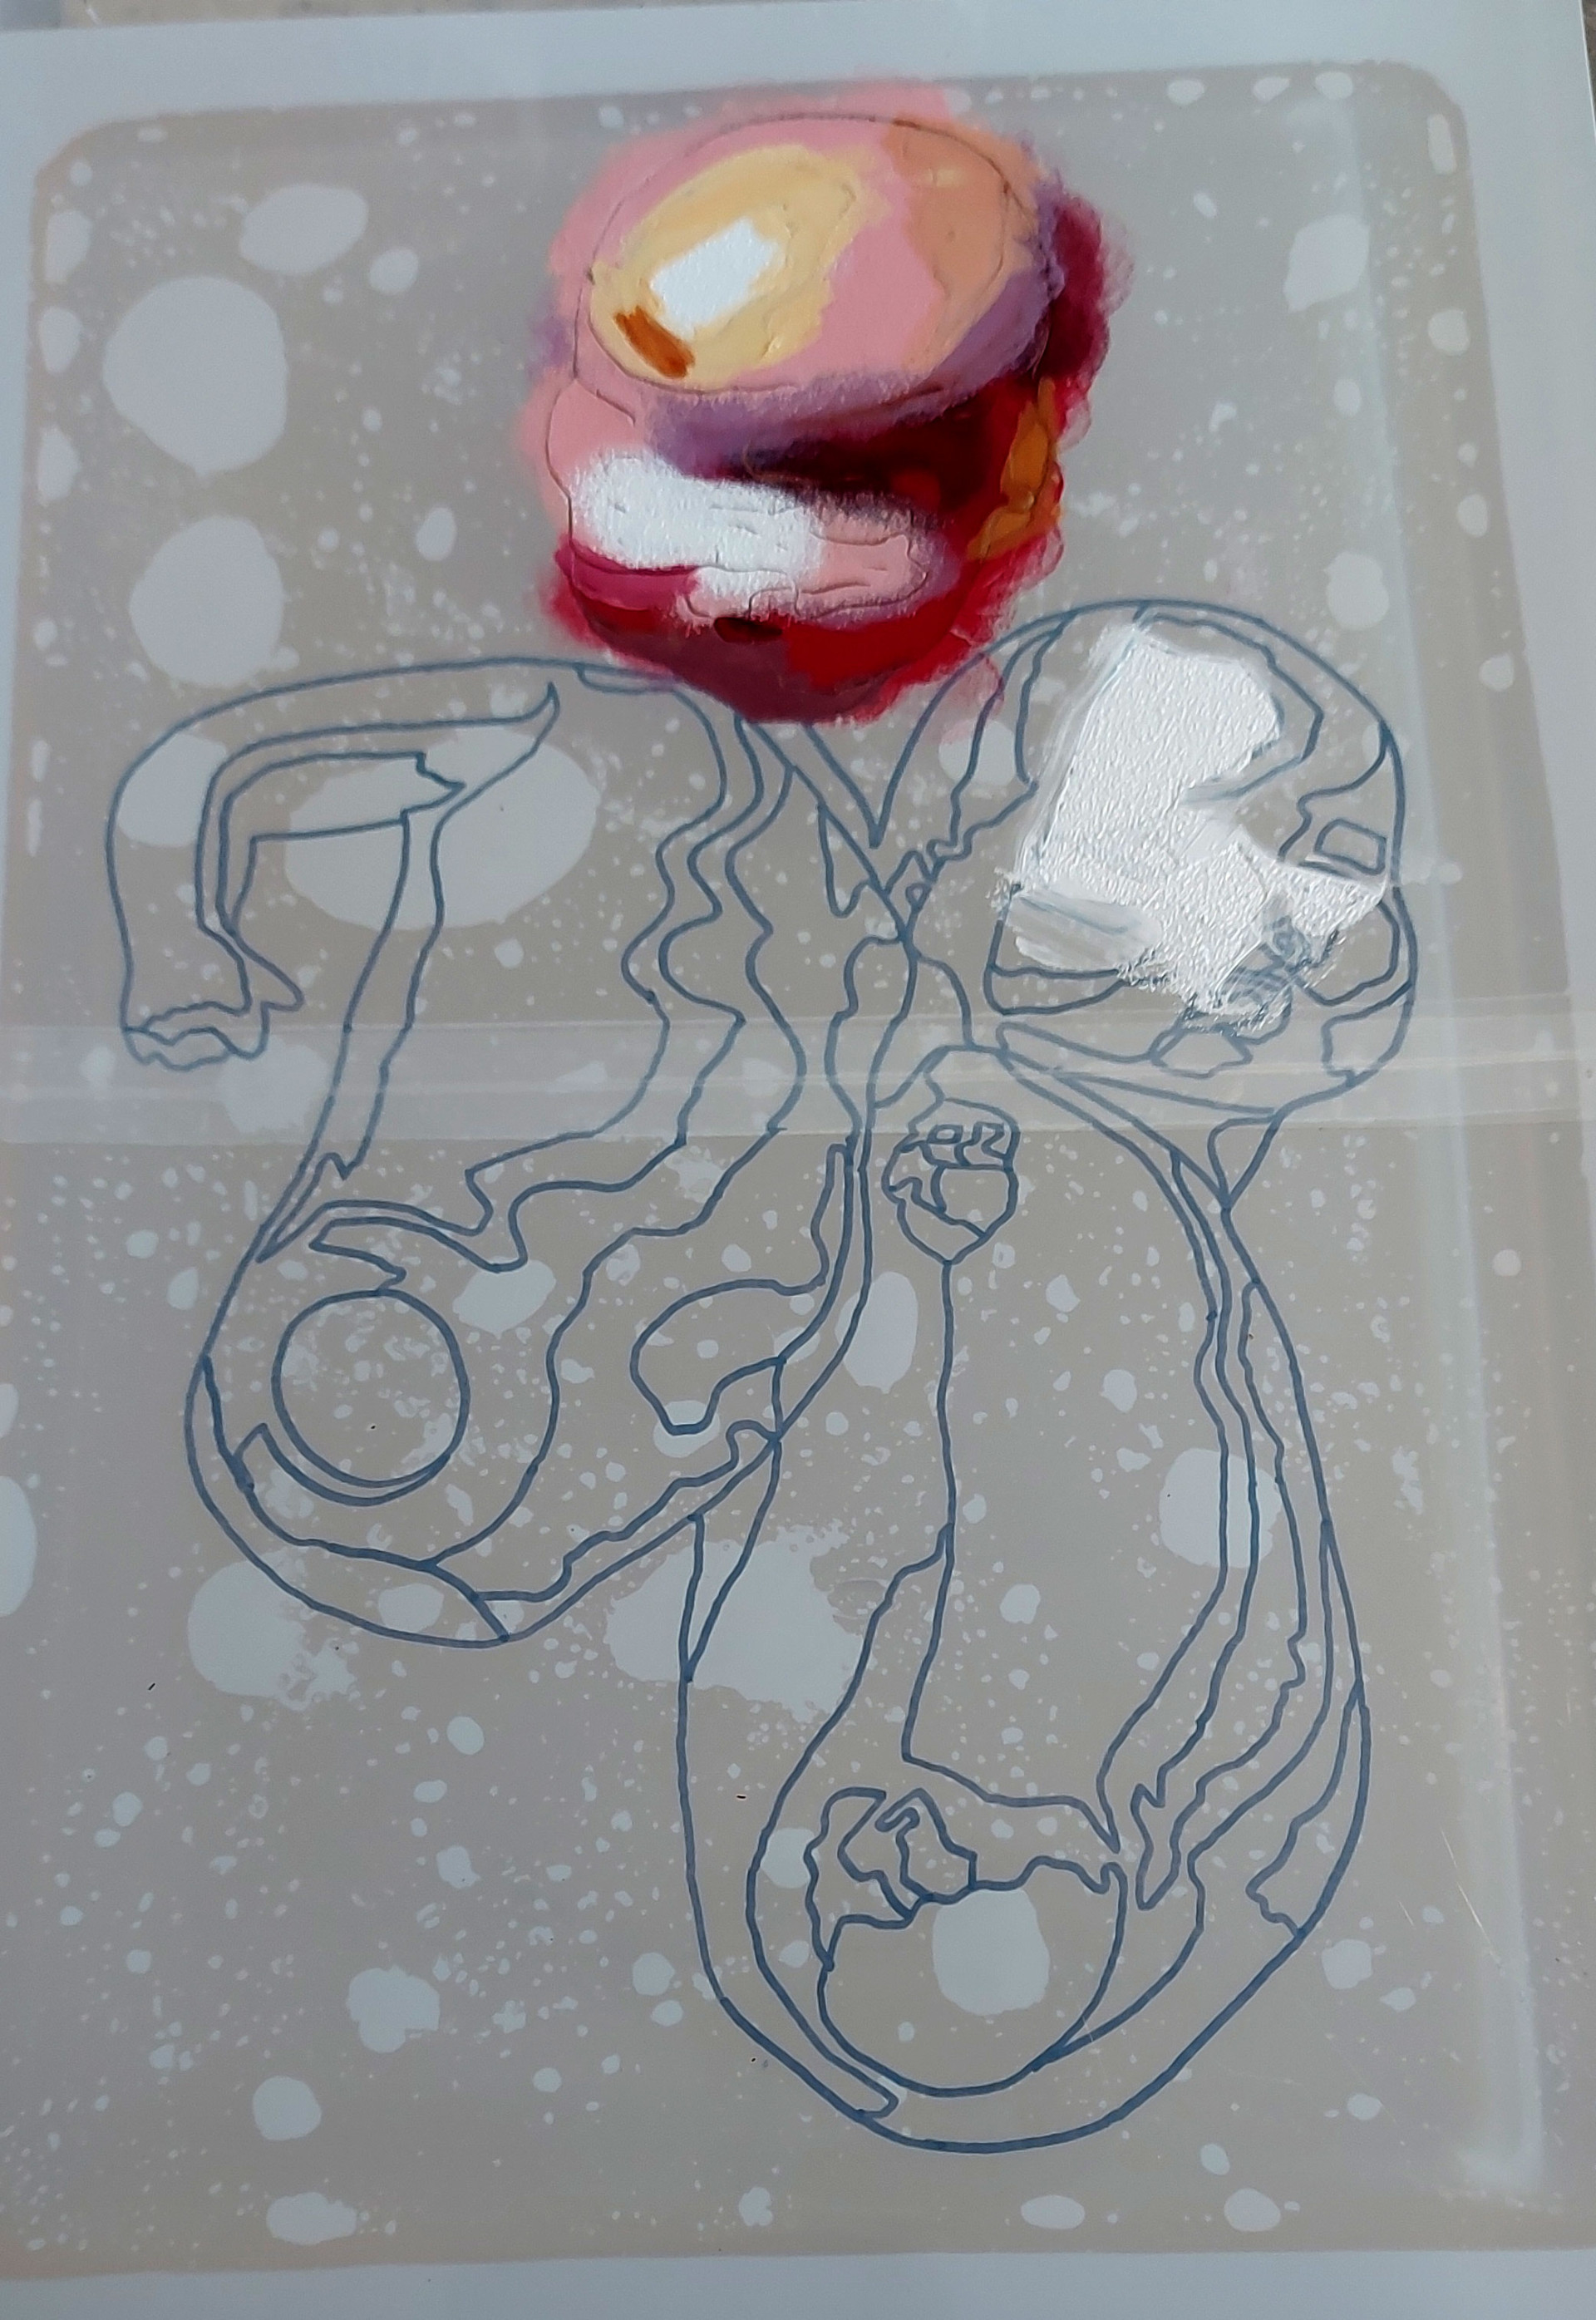
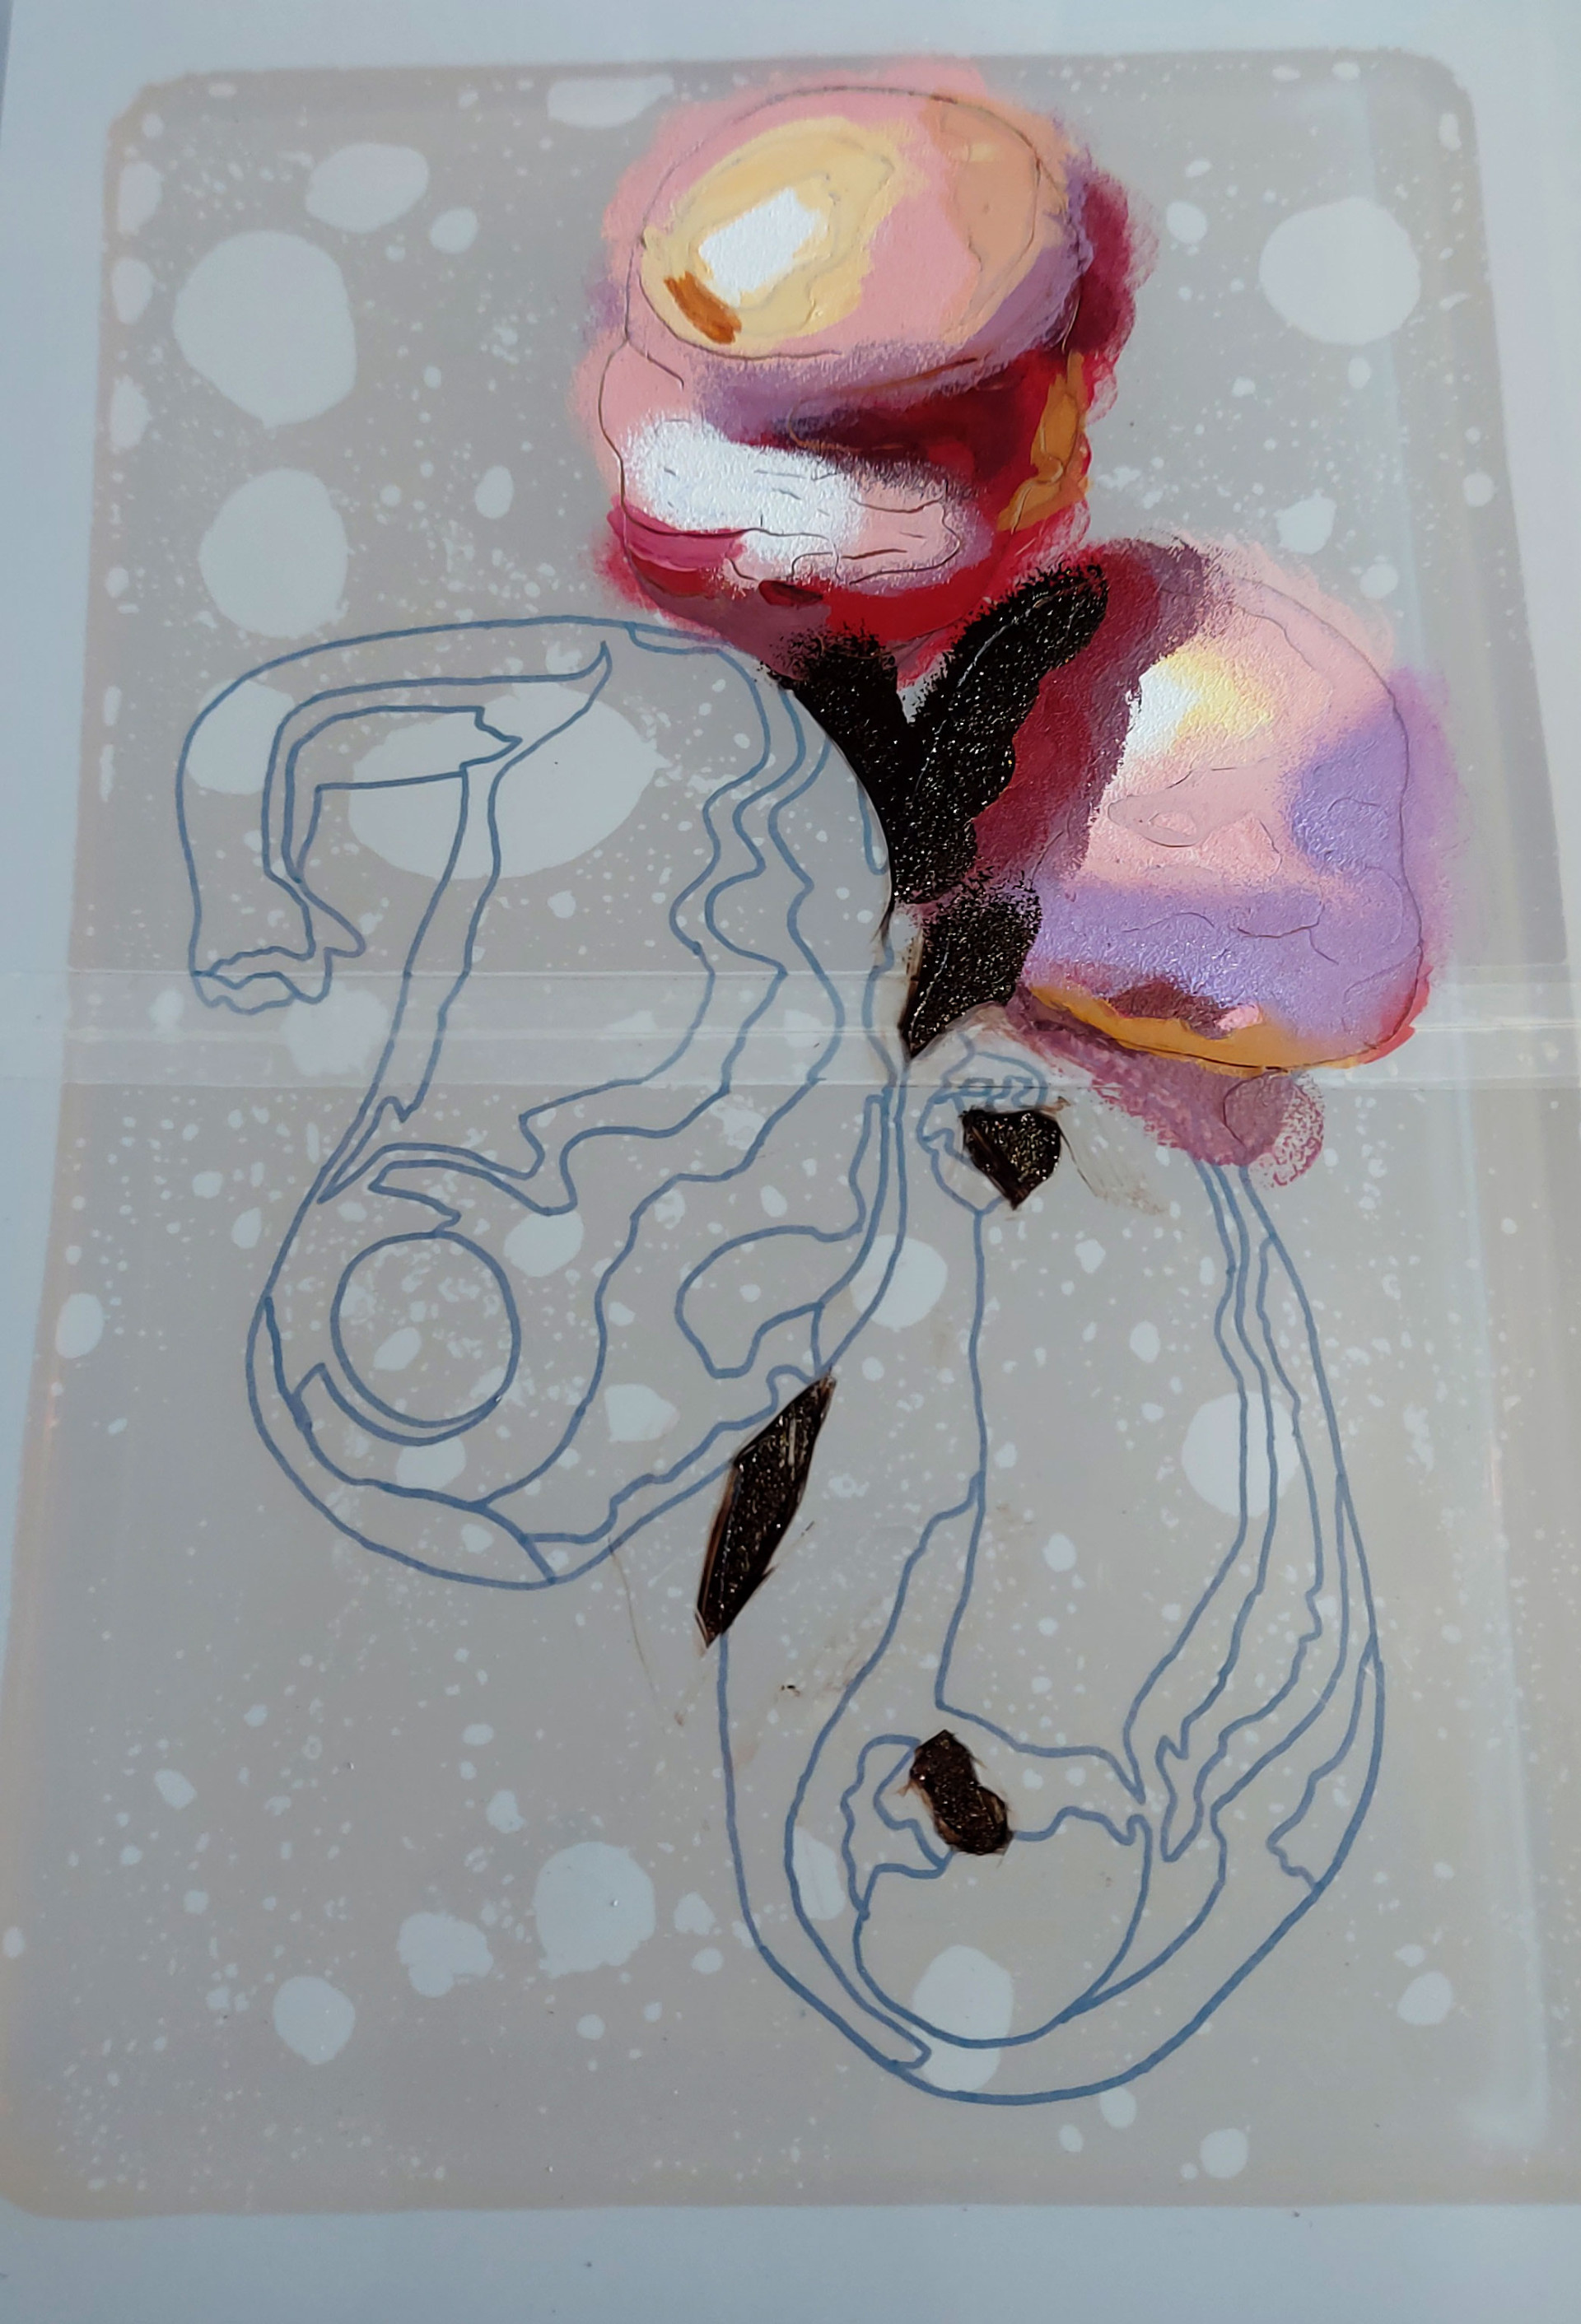
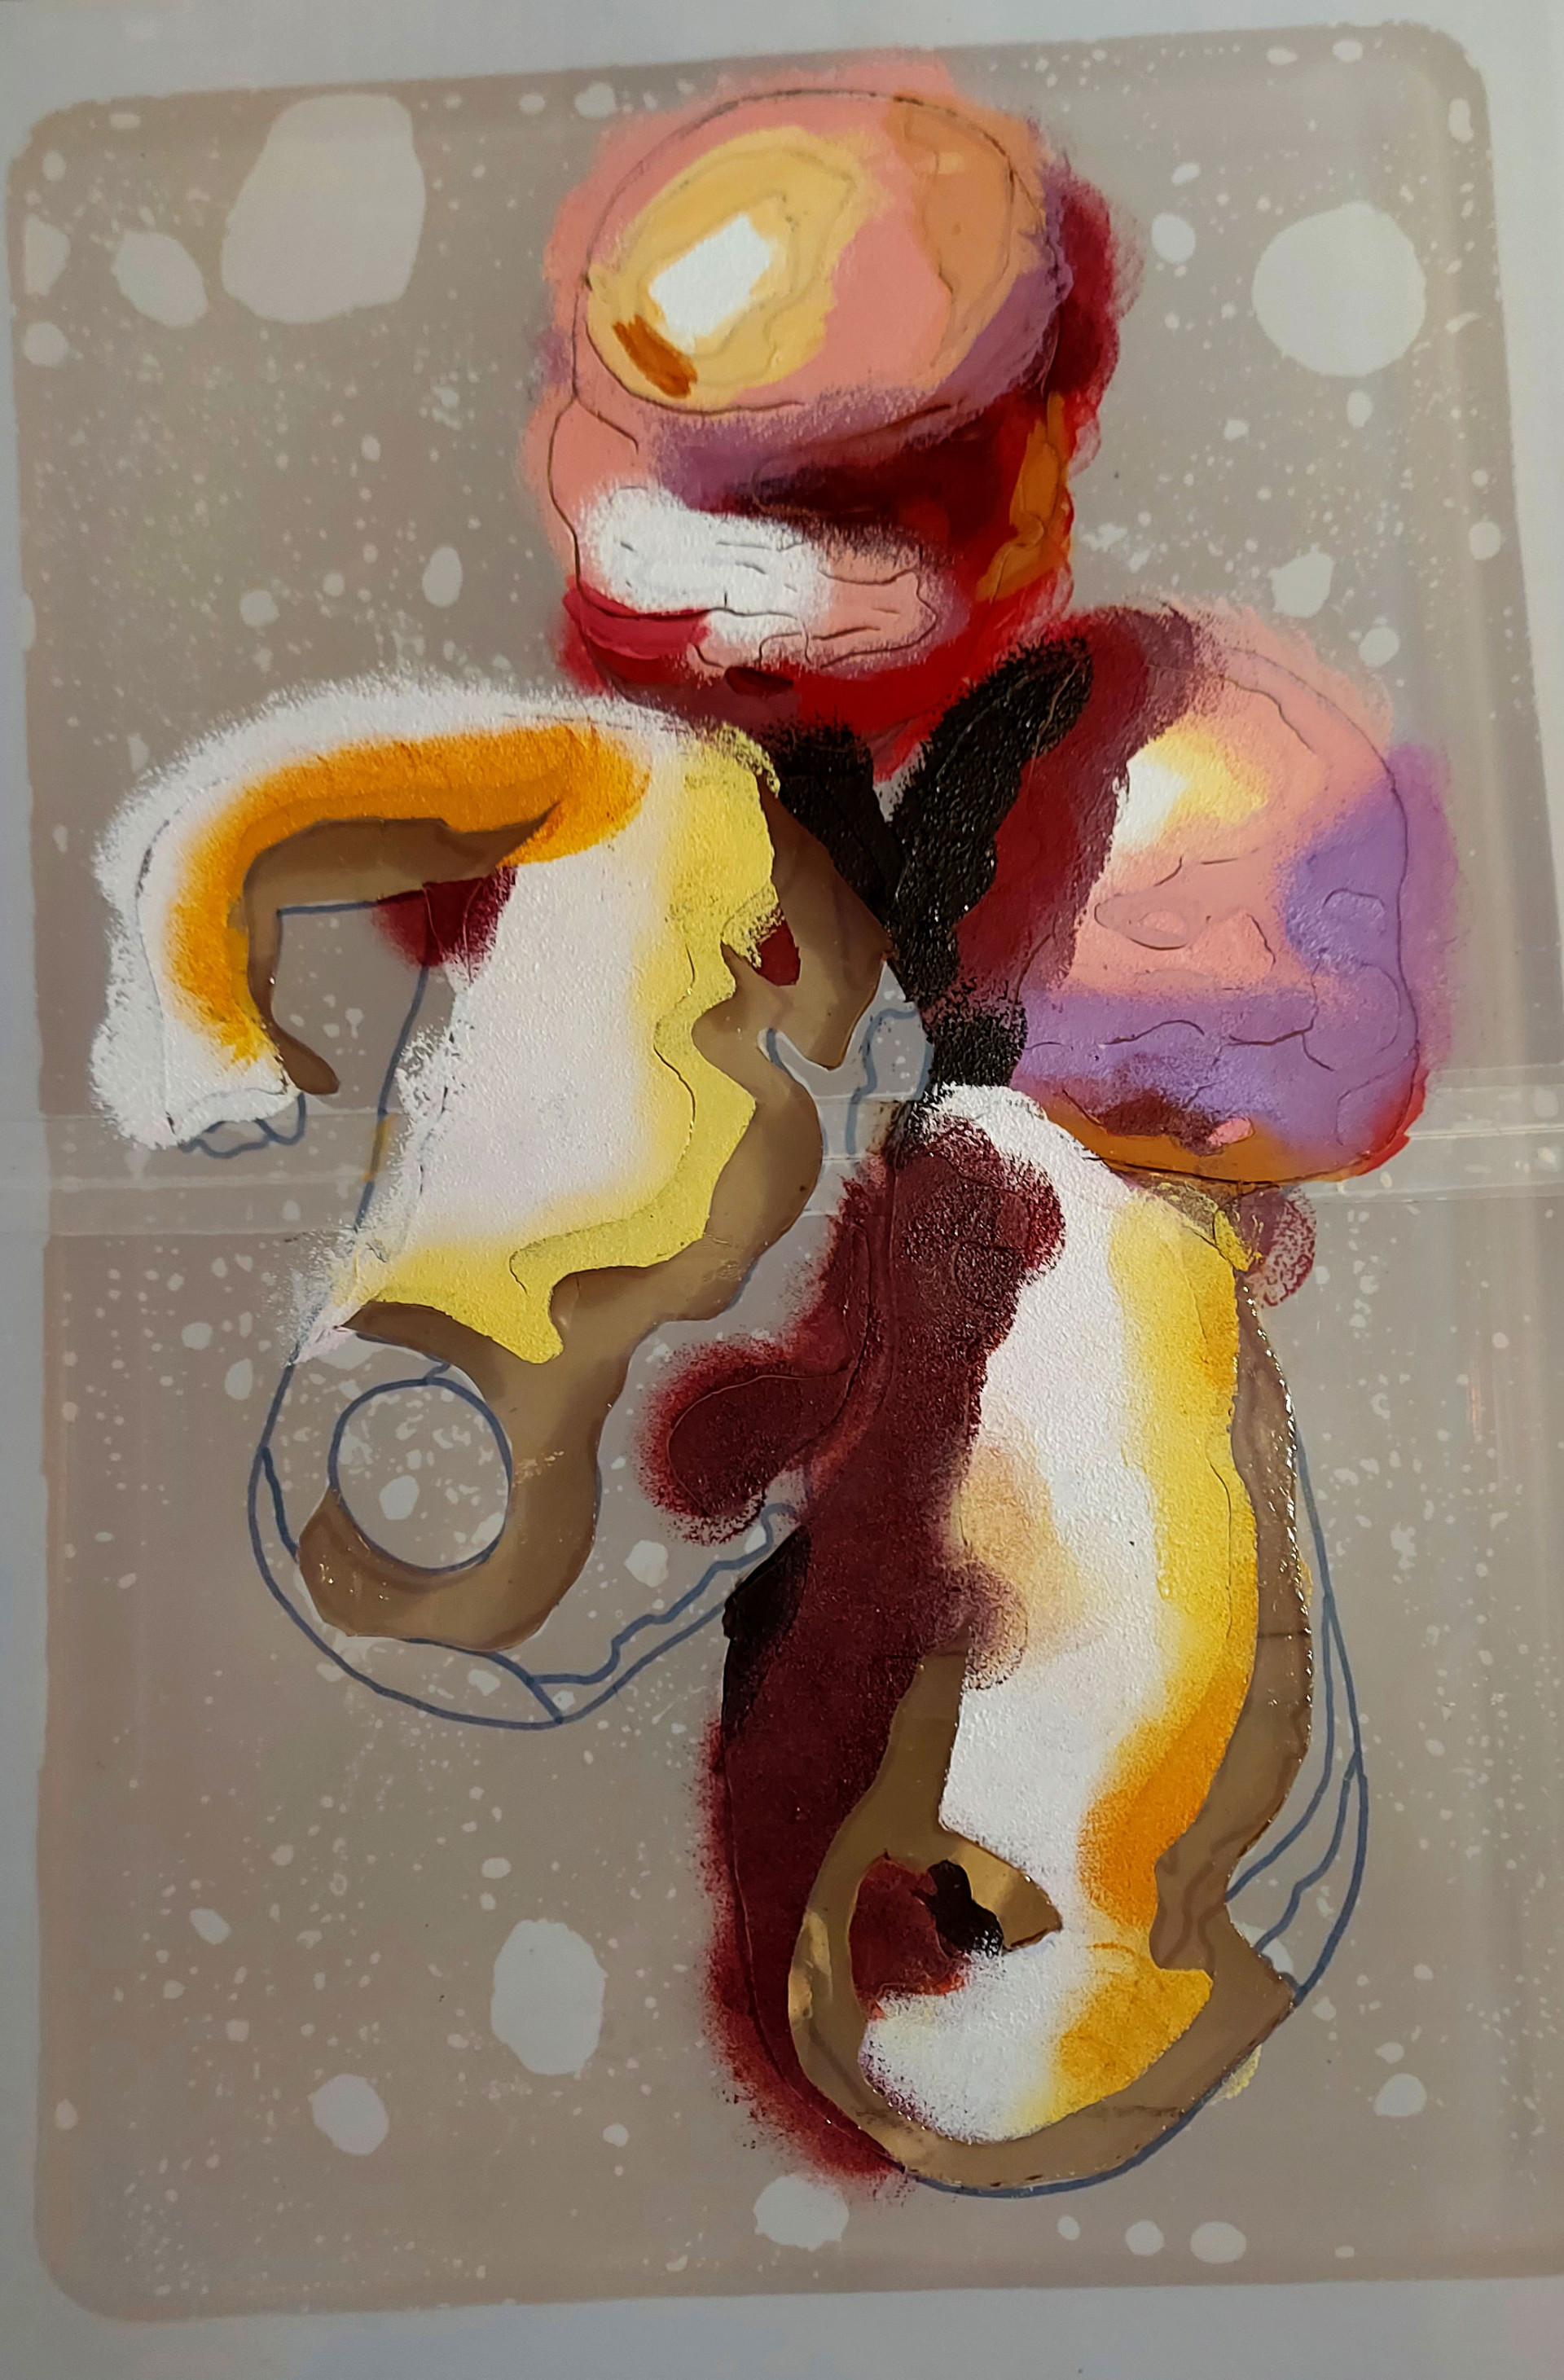
Stage two - laying the mylar sheet with the traced image on top of the gel plate, I began cutting away areas so that once removed, I could apply acrylic paint to the exposed areas of the gel plate beneath using the colour separated image as my guide. This required me to work in reverse, using a fair amount of guesswork as to the outcome, although, as the gel plate was on a transparent perspex sheet, I was able to turn it over to get an idea of how it was progressing.
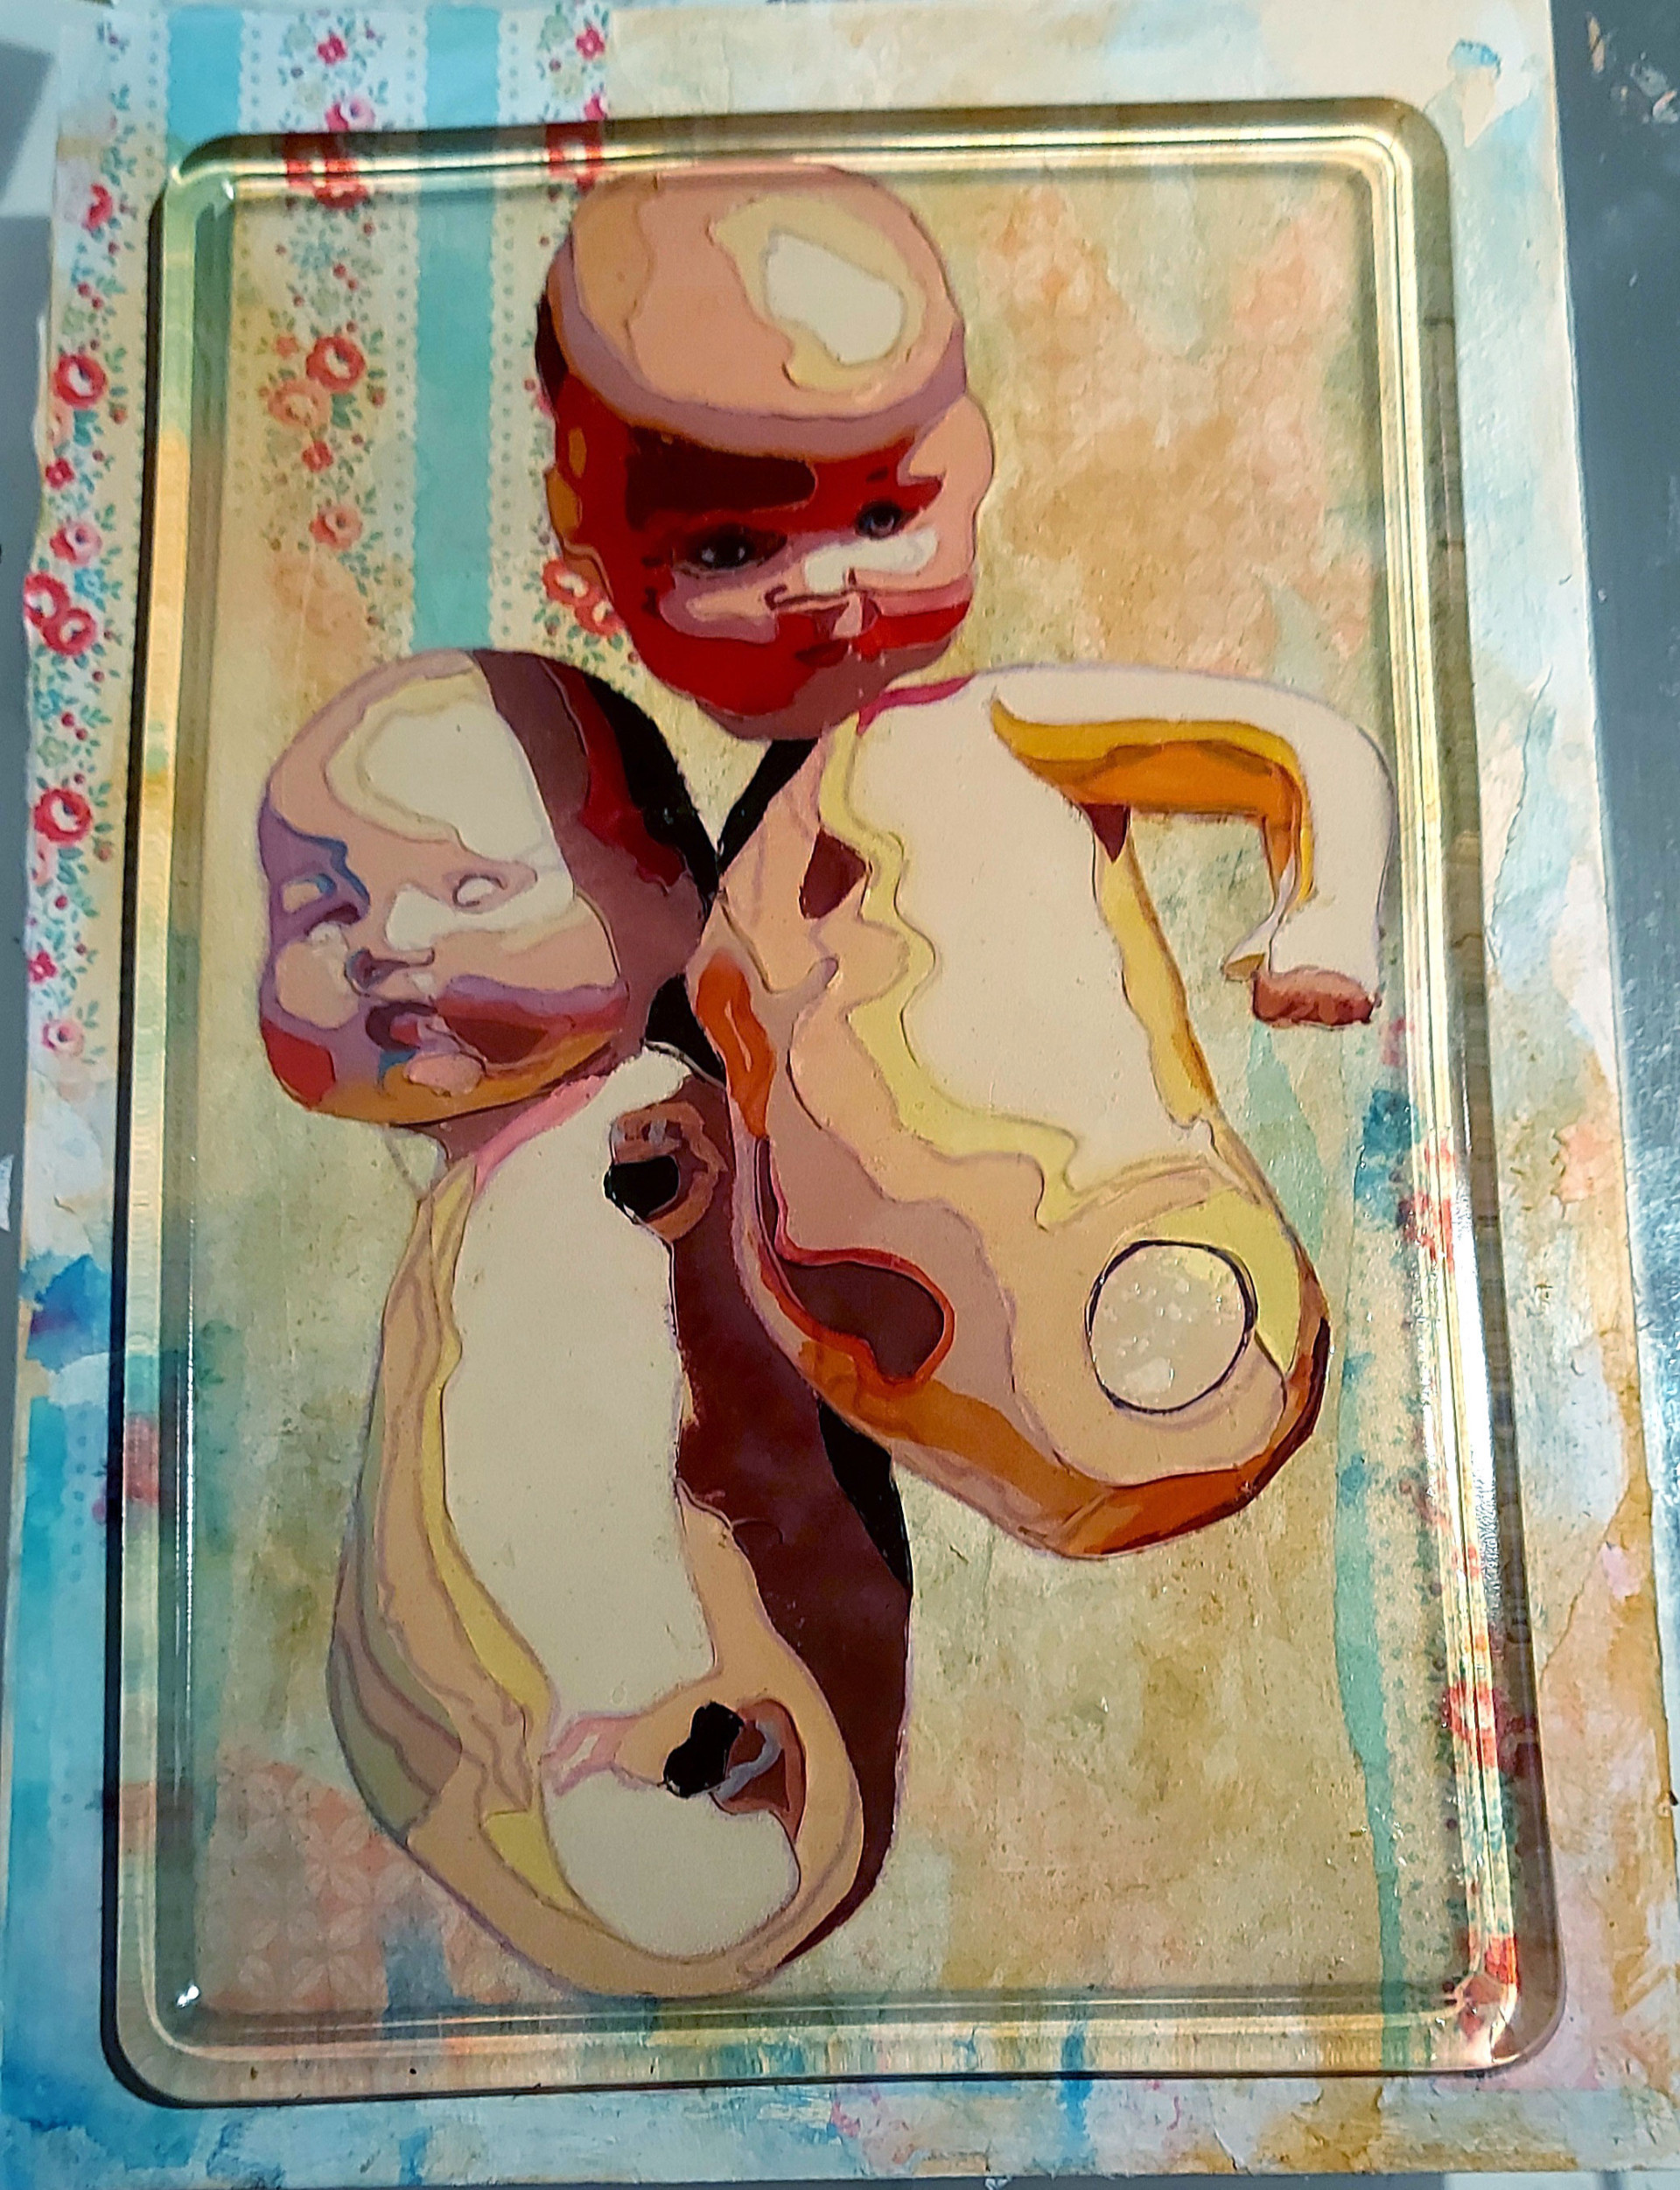
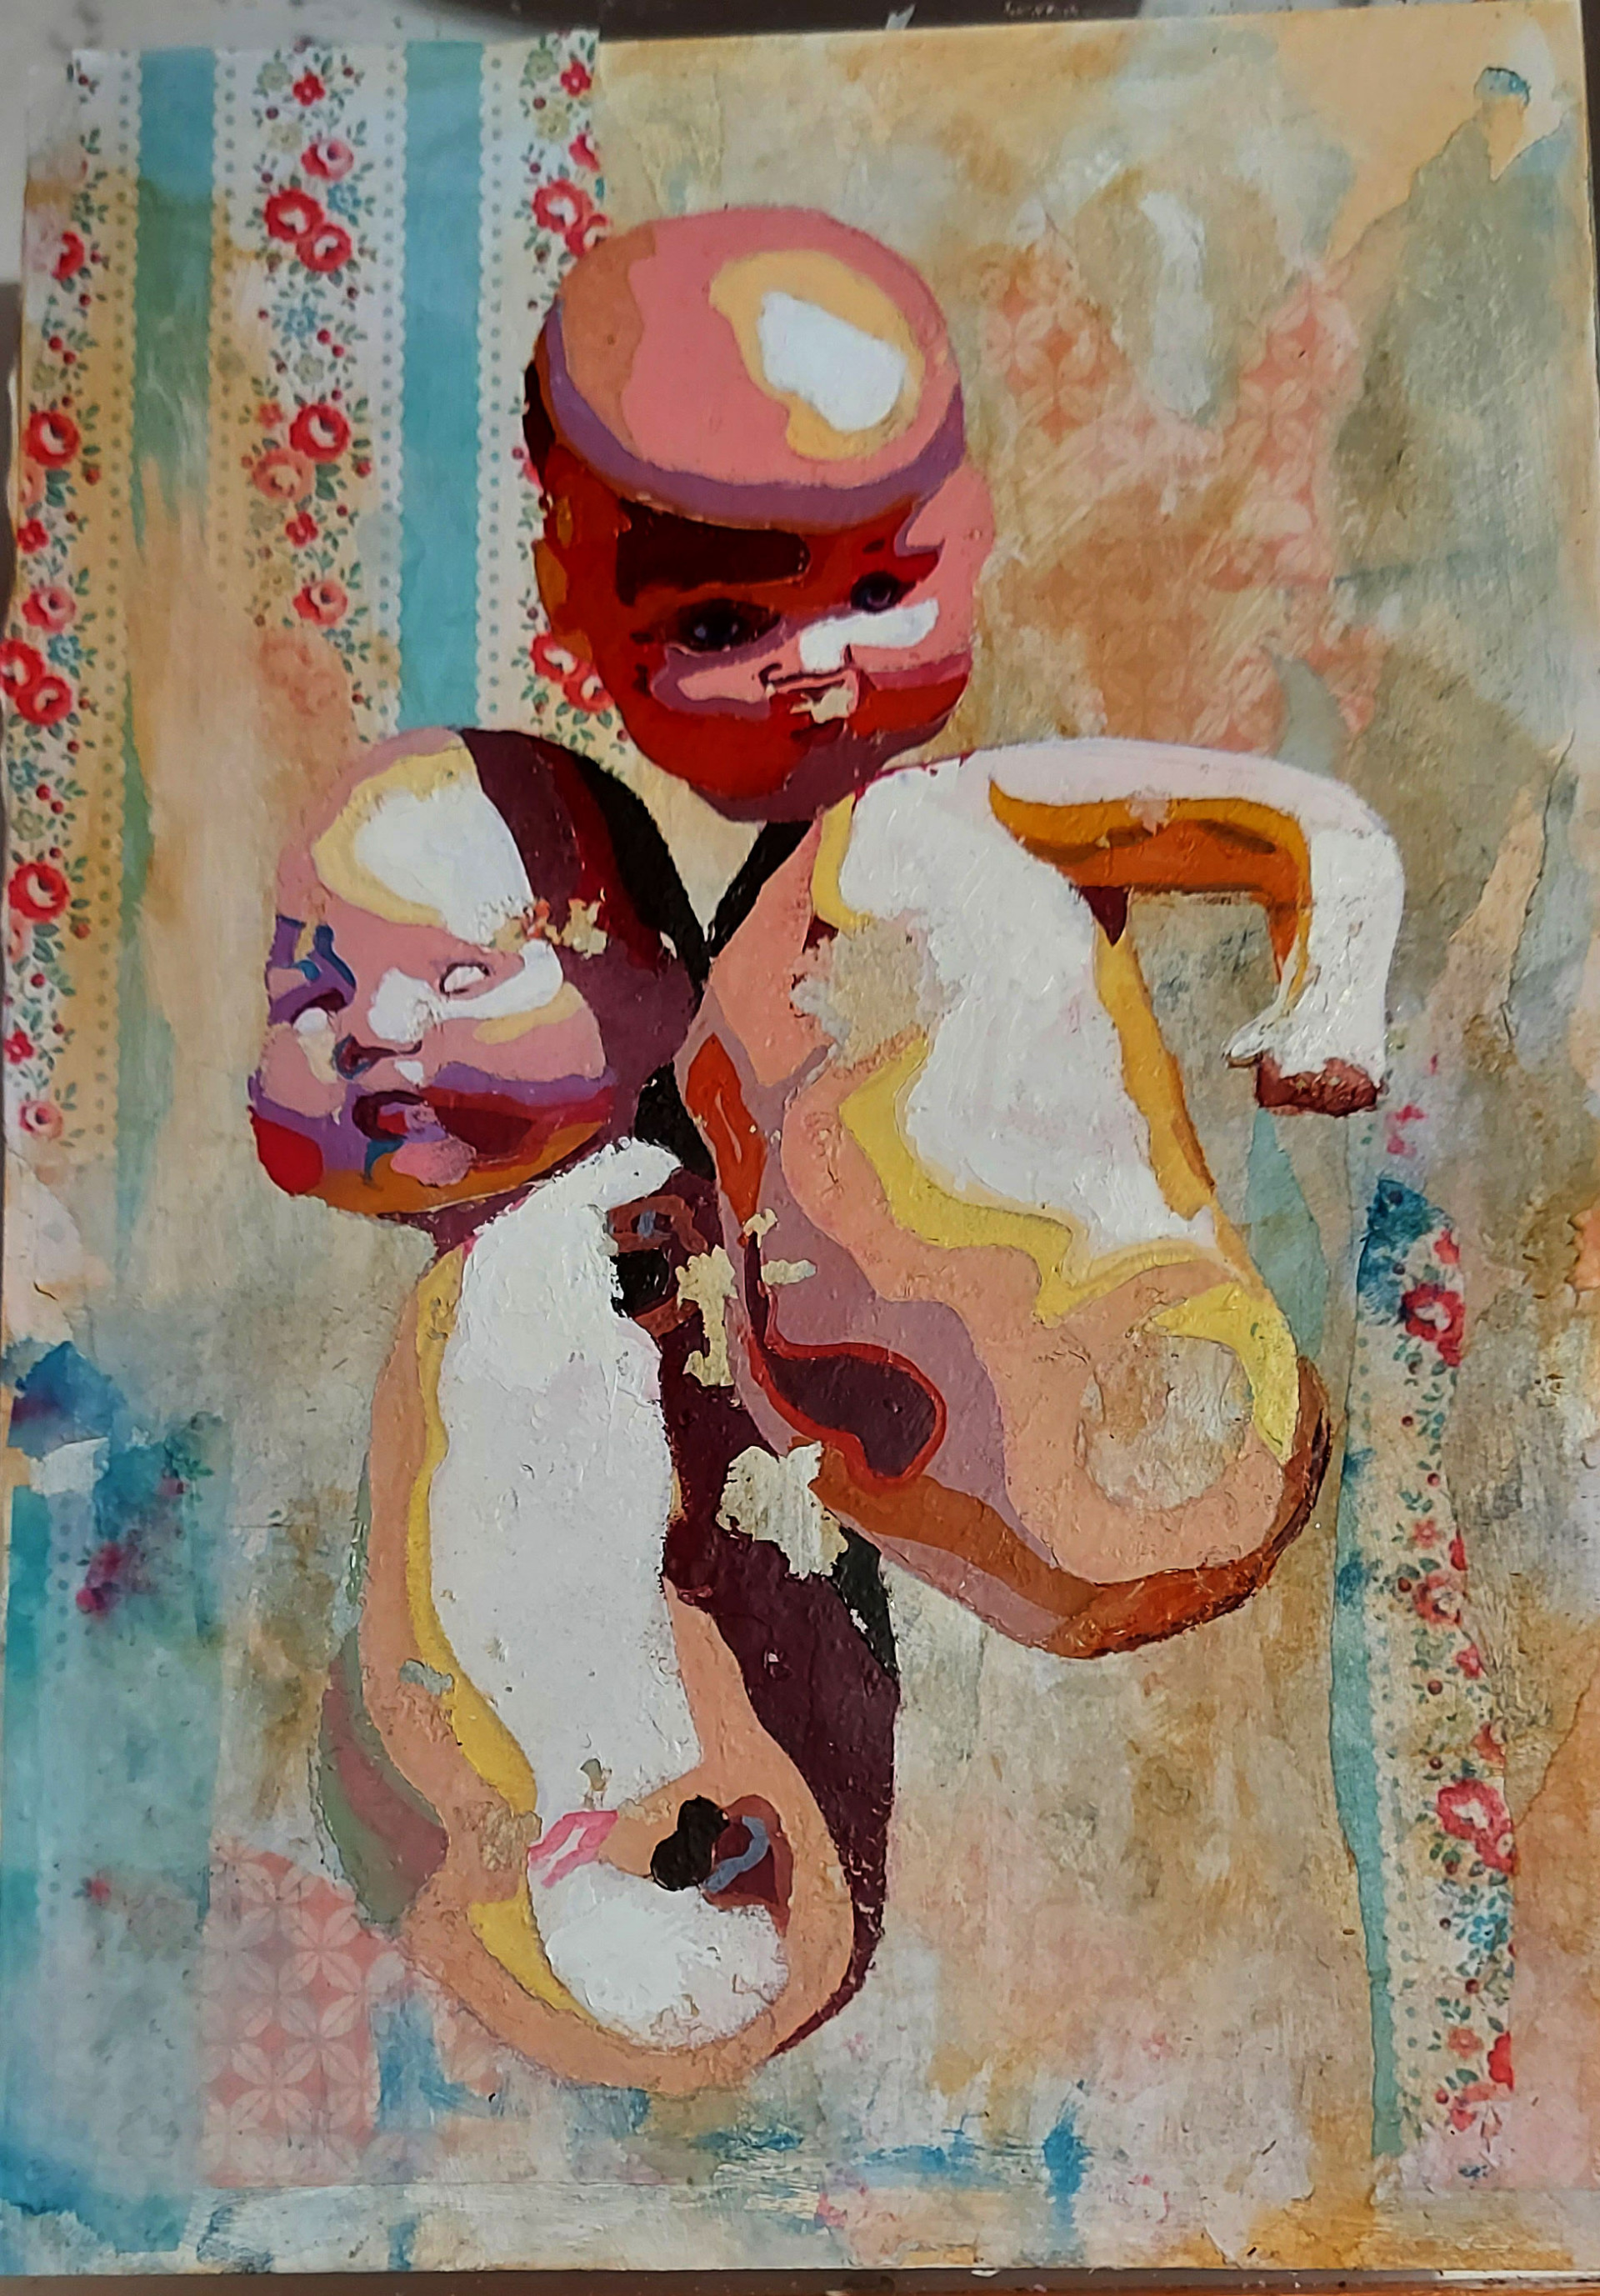
Stage three - Once I had completed the application of paint to the gel plate via the mylar template, I began working on a suitable background image to overlay the printed image onto. I wanted to expand further on the notion of neglect and abandonment and so I created a fitting backdrop with thick applications of texture paste and print outs of old wallpaper designs which I pasted onto mixed media board and peeled back to create the effect of interior wall of an old and neglected, abandoned house.
The image below on the left shows the gel plate overlayed onto the collaged background and on the right, how the printed image appeared when the gel plate was removed.
To view a 'timelapse' of the whole process, click on the far left image to toggle through each image from beginning to end.
Click here to view the finished work in its entirety.