Stage one of the project was to find an interesting face to work with. The photo above is actually a constructed image from a royalty free photo that was originally just half of the face. I duplicated it and flipped it in photoshop and then 'knitted' them together to create this whole new image to work with. If you look closely, you can see the 'seam' running down the middle of the face. I like it as it plays into the narrative of perfect symmetry being the so-called benchmark for perfection when it comes to determining what constitutes pure beauty.
Next, I made a drawing within a gridded matrix to map out the structure of the features which I then traced, scanned and printed a few times so that I could develop the image using various different mediums.
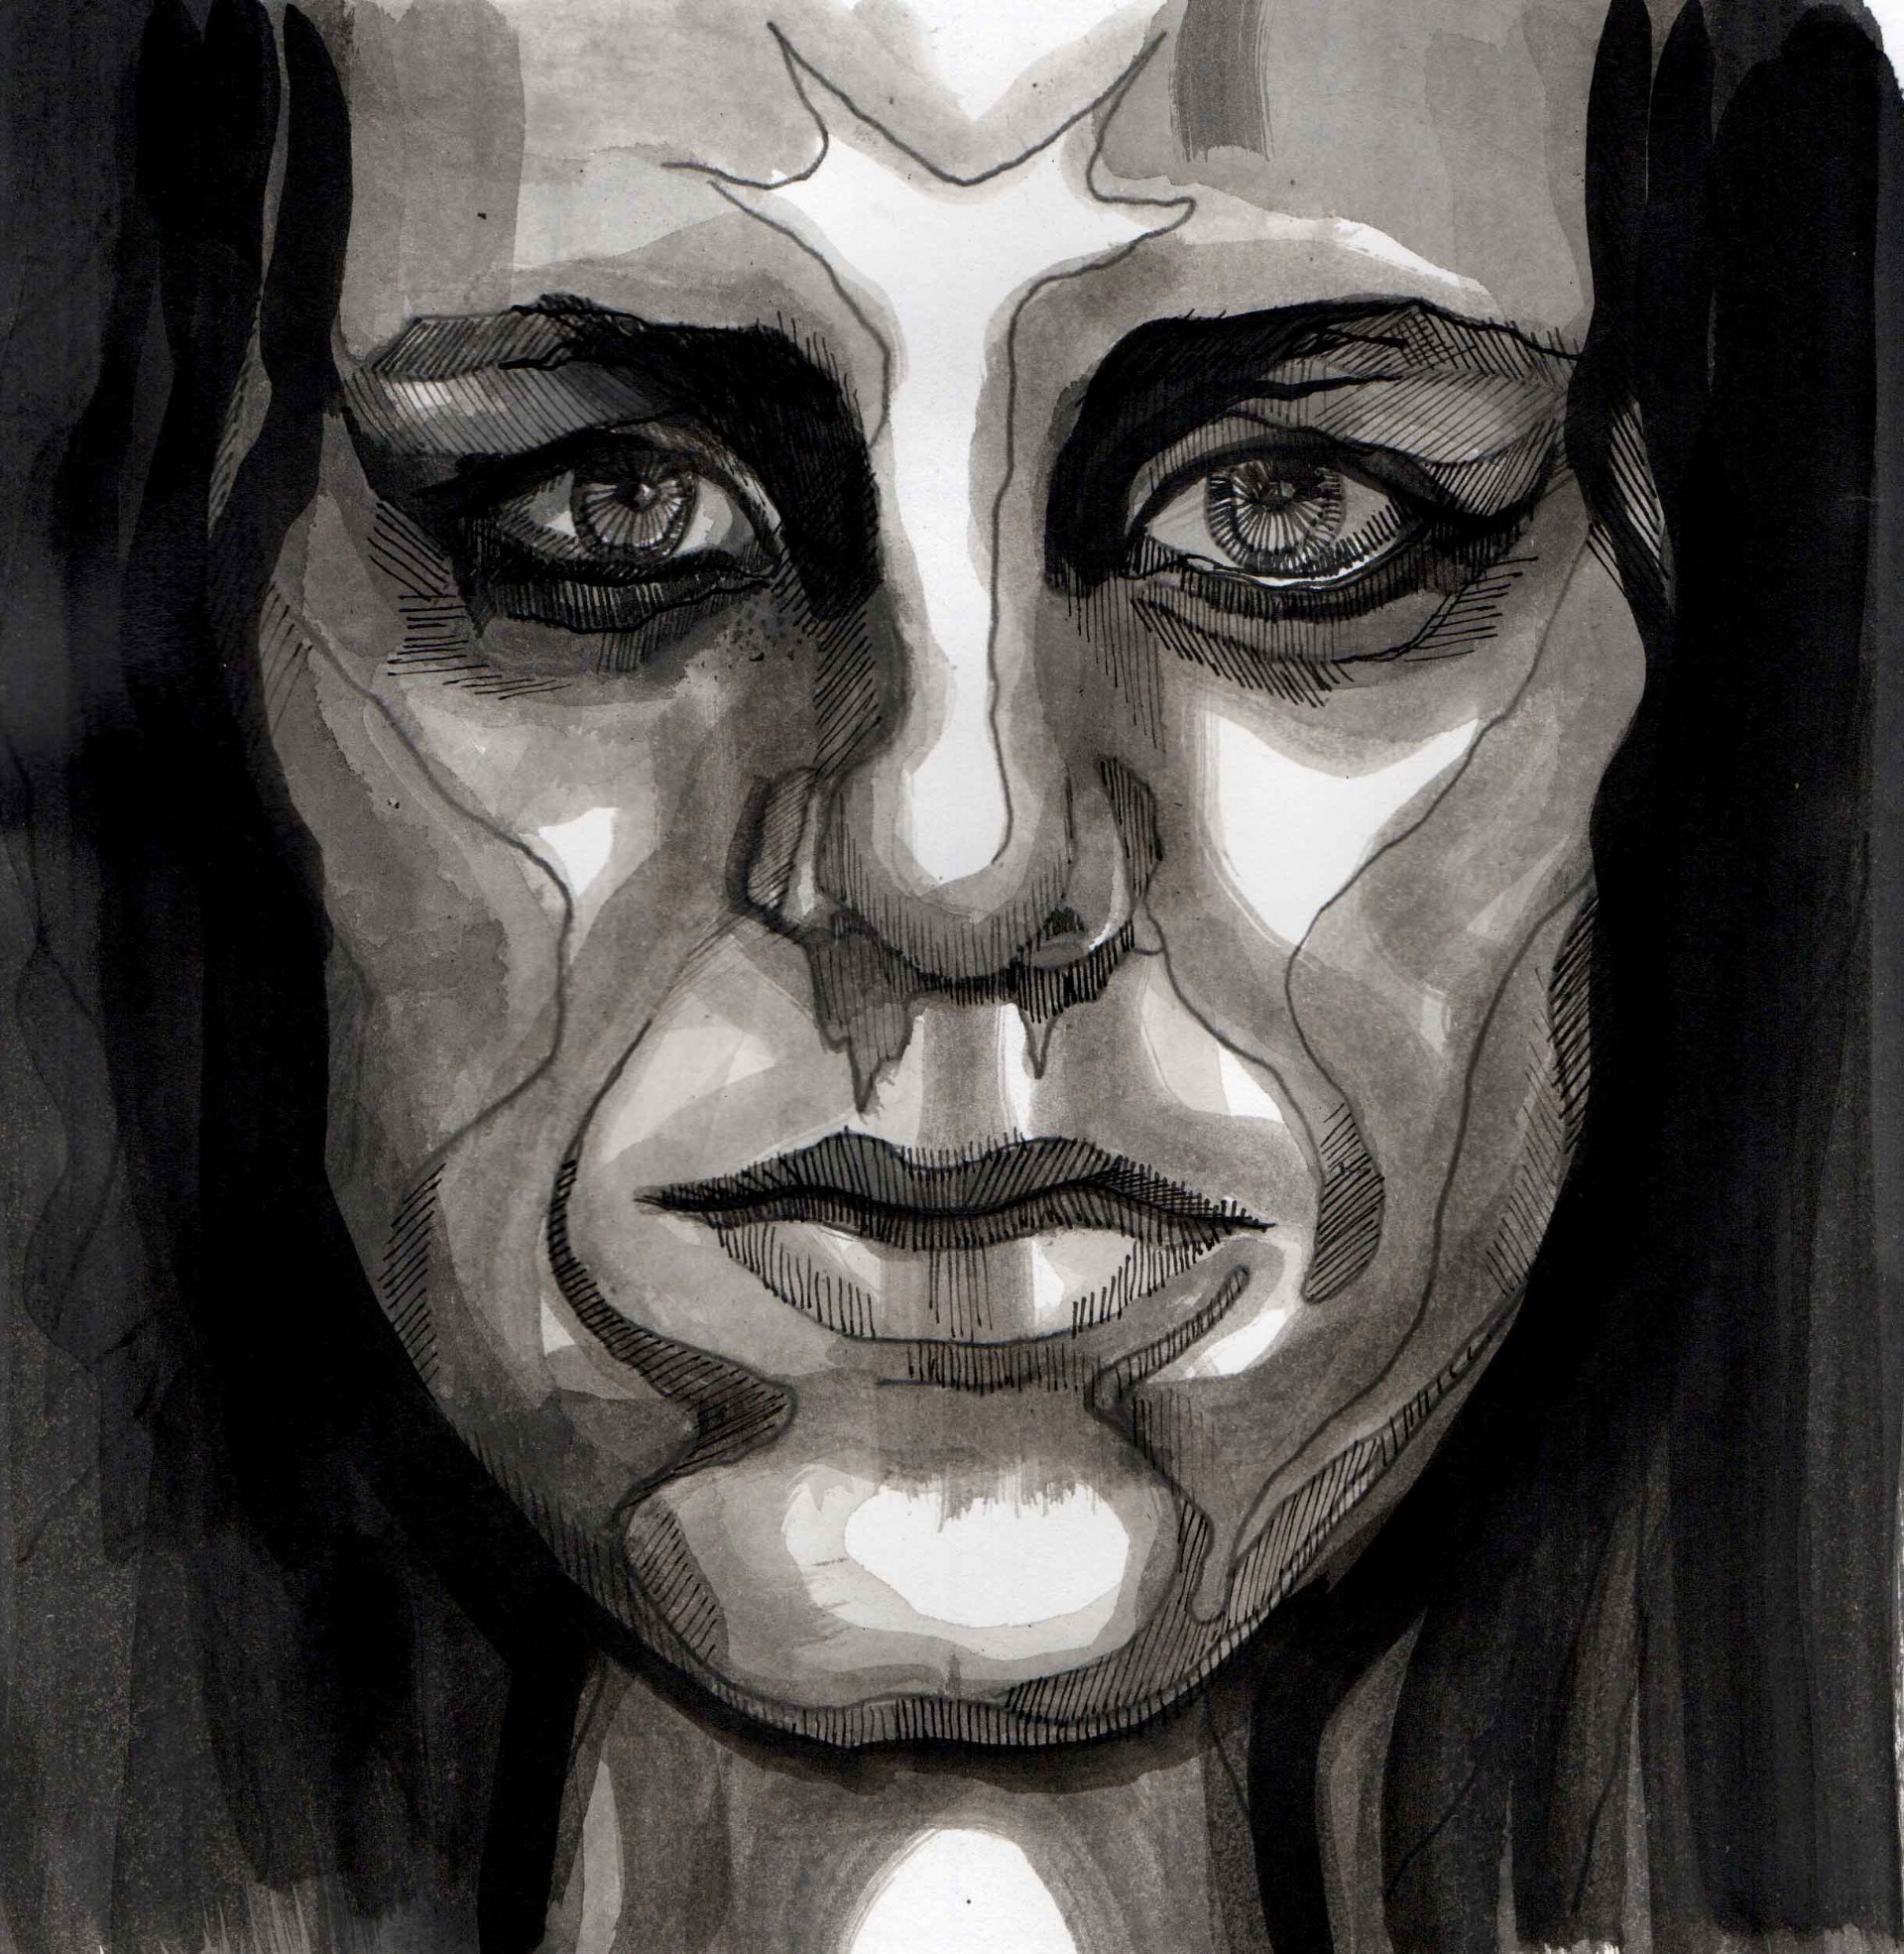
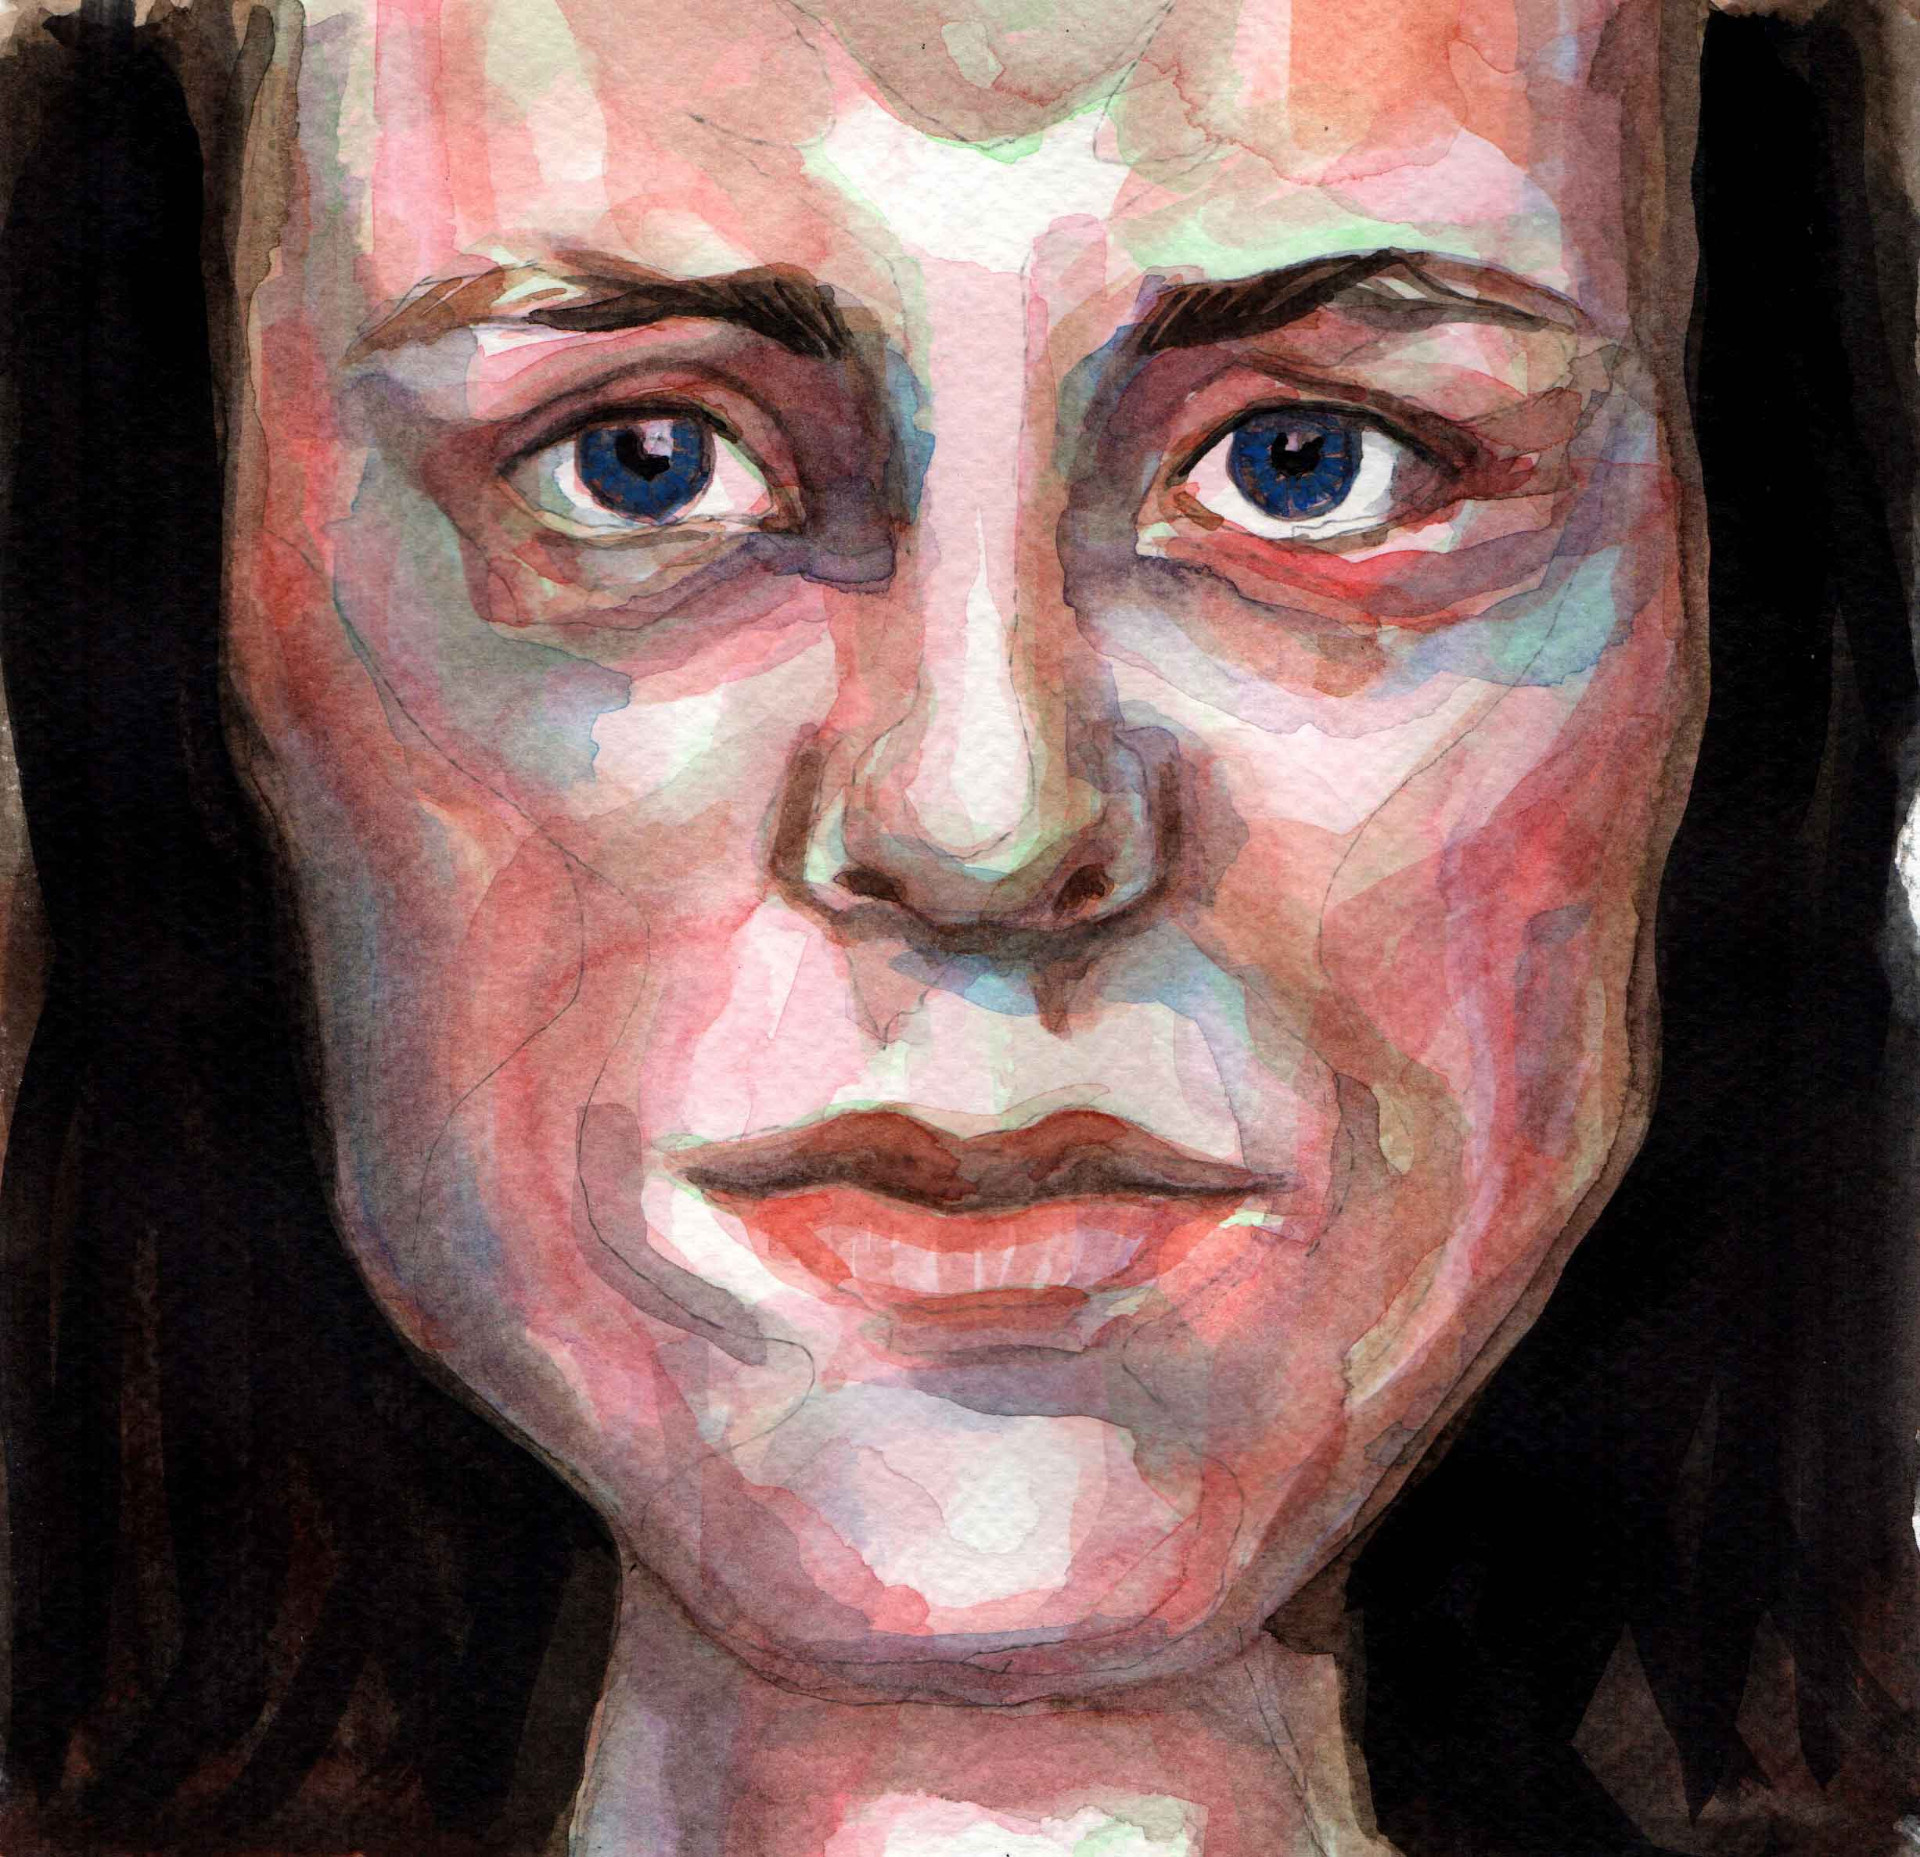
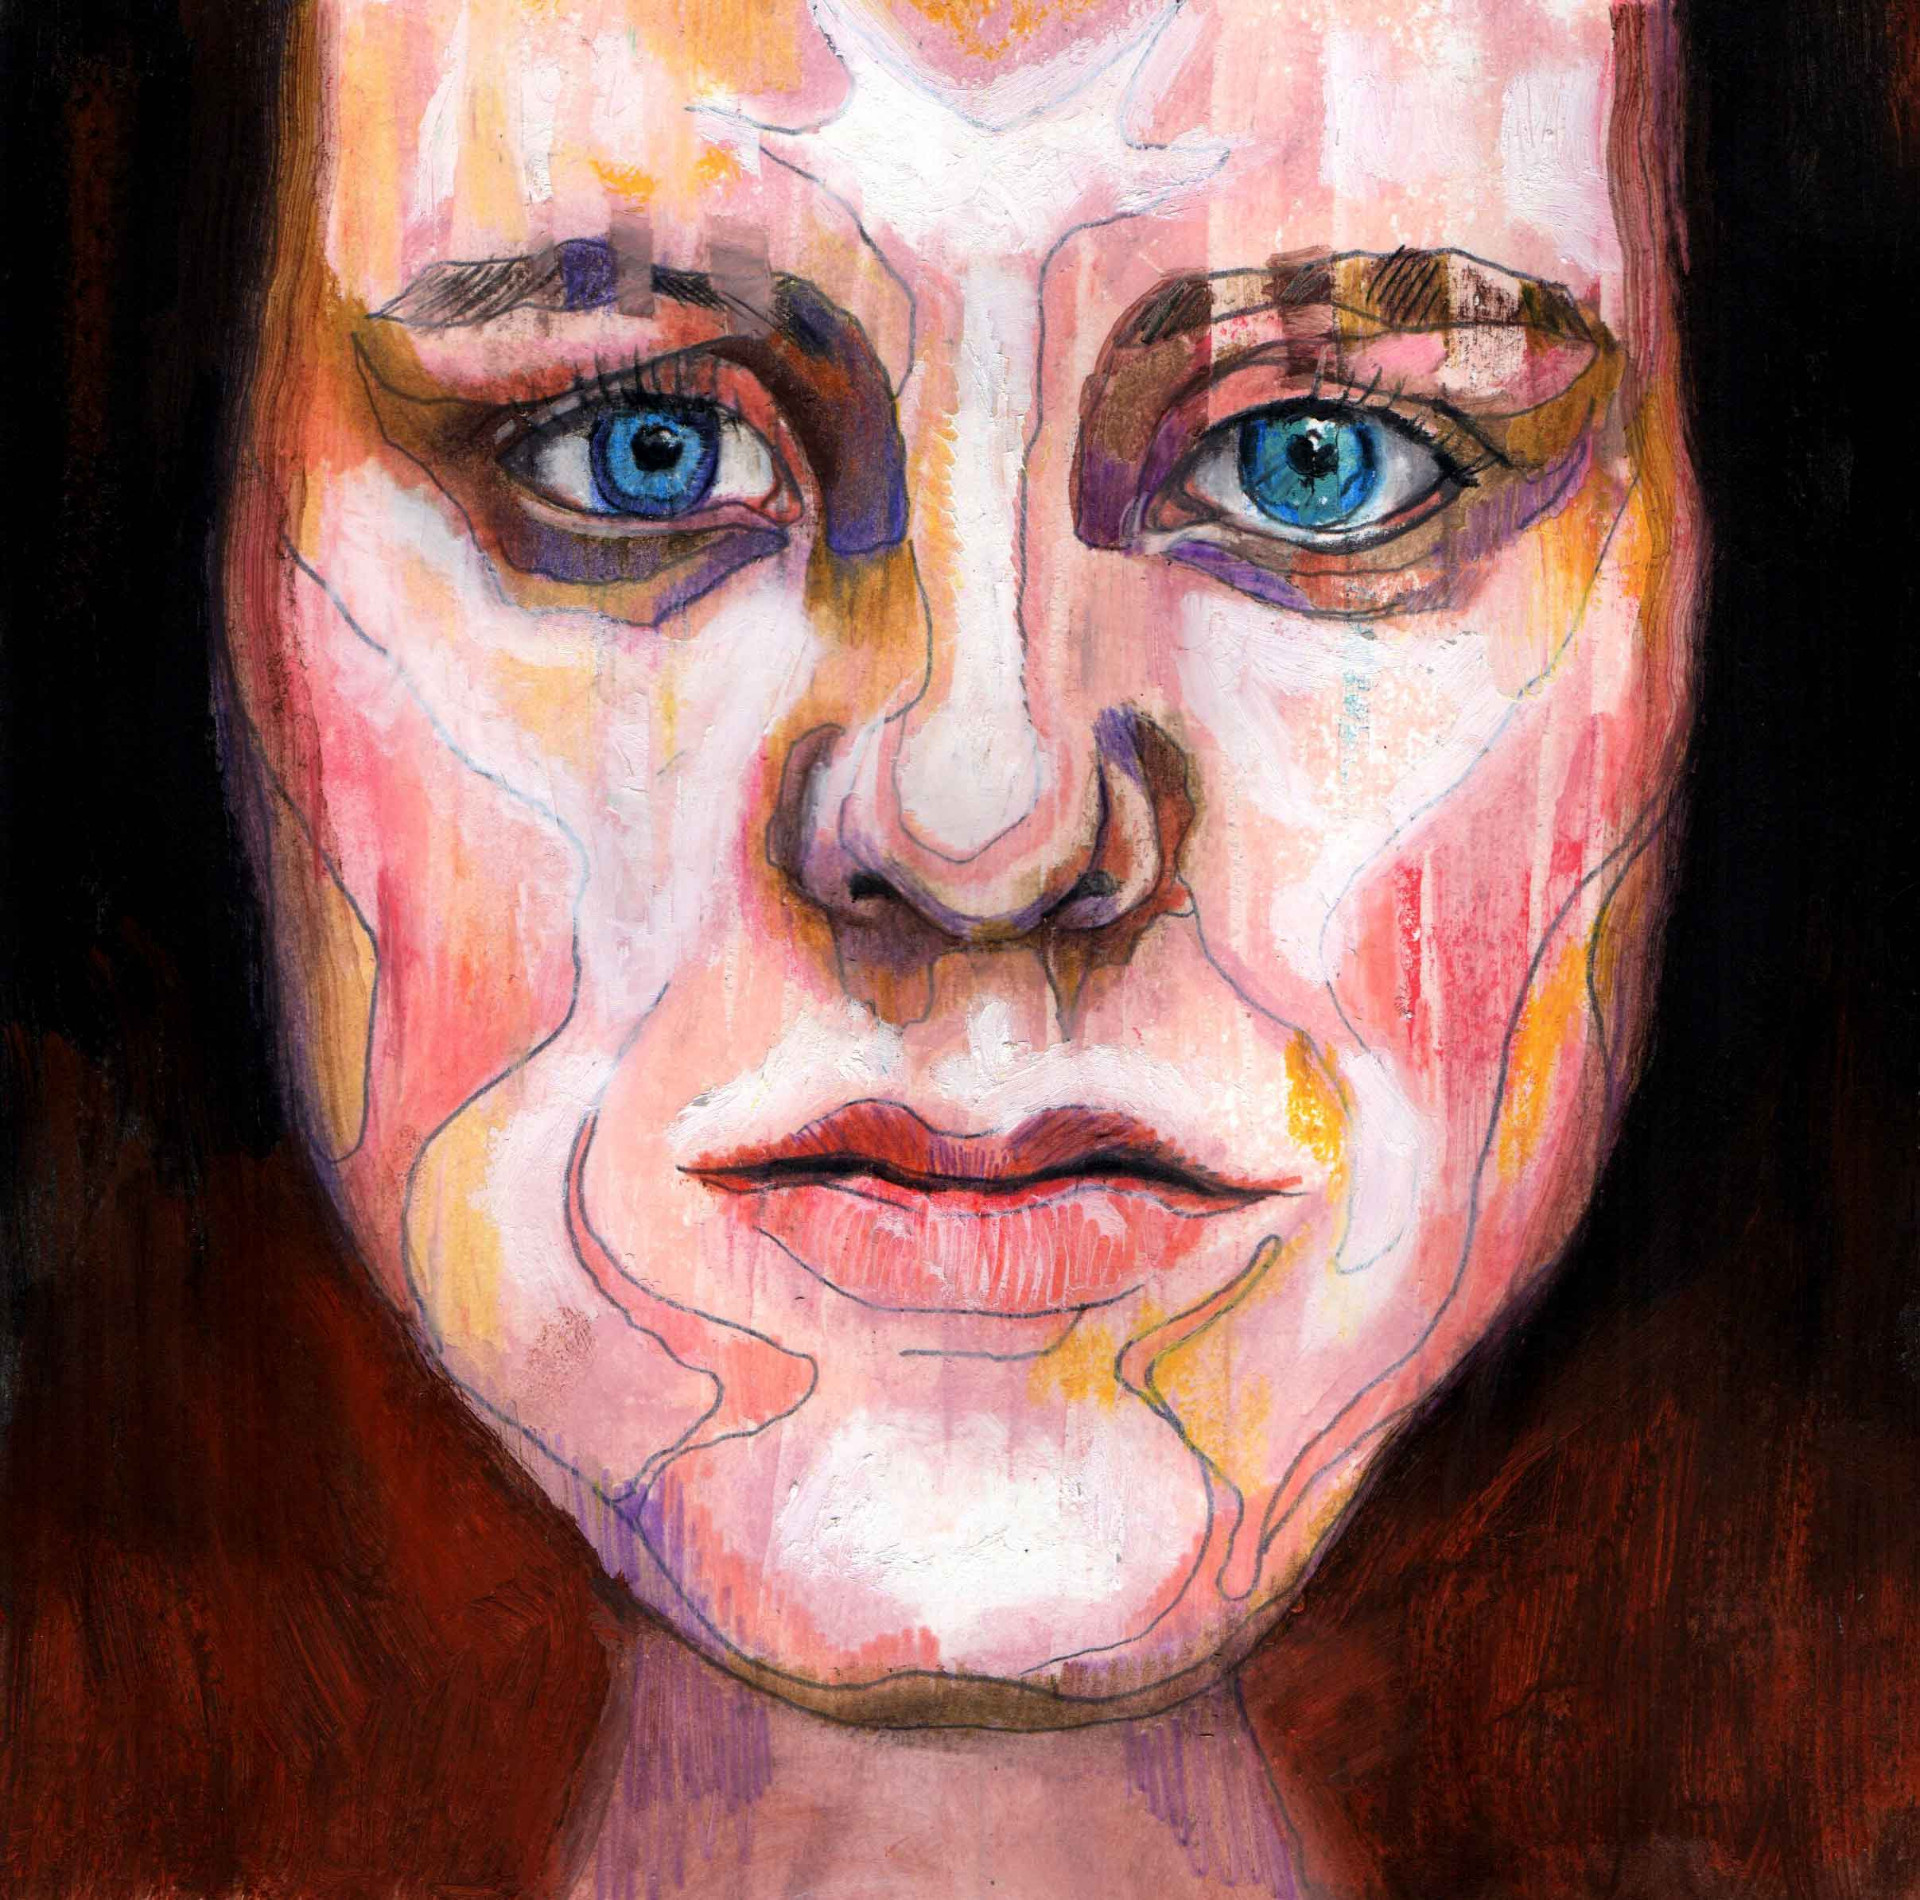
These three are studies using Indian ink (far left), watercolour paint (middle), and oil pastels (far right) which I scraped back to achieve the striped effect, which I felt gave the face a new and interesting look and feel.
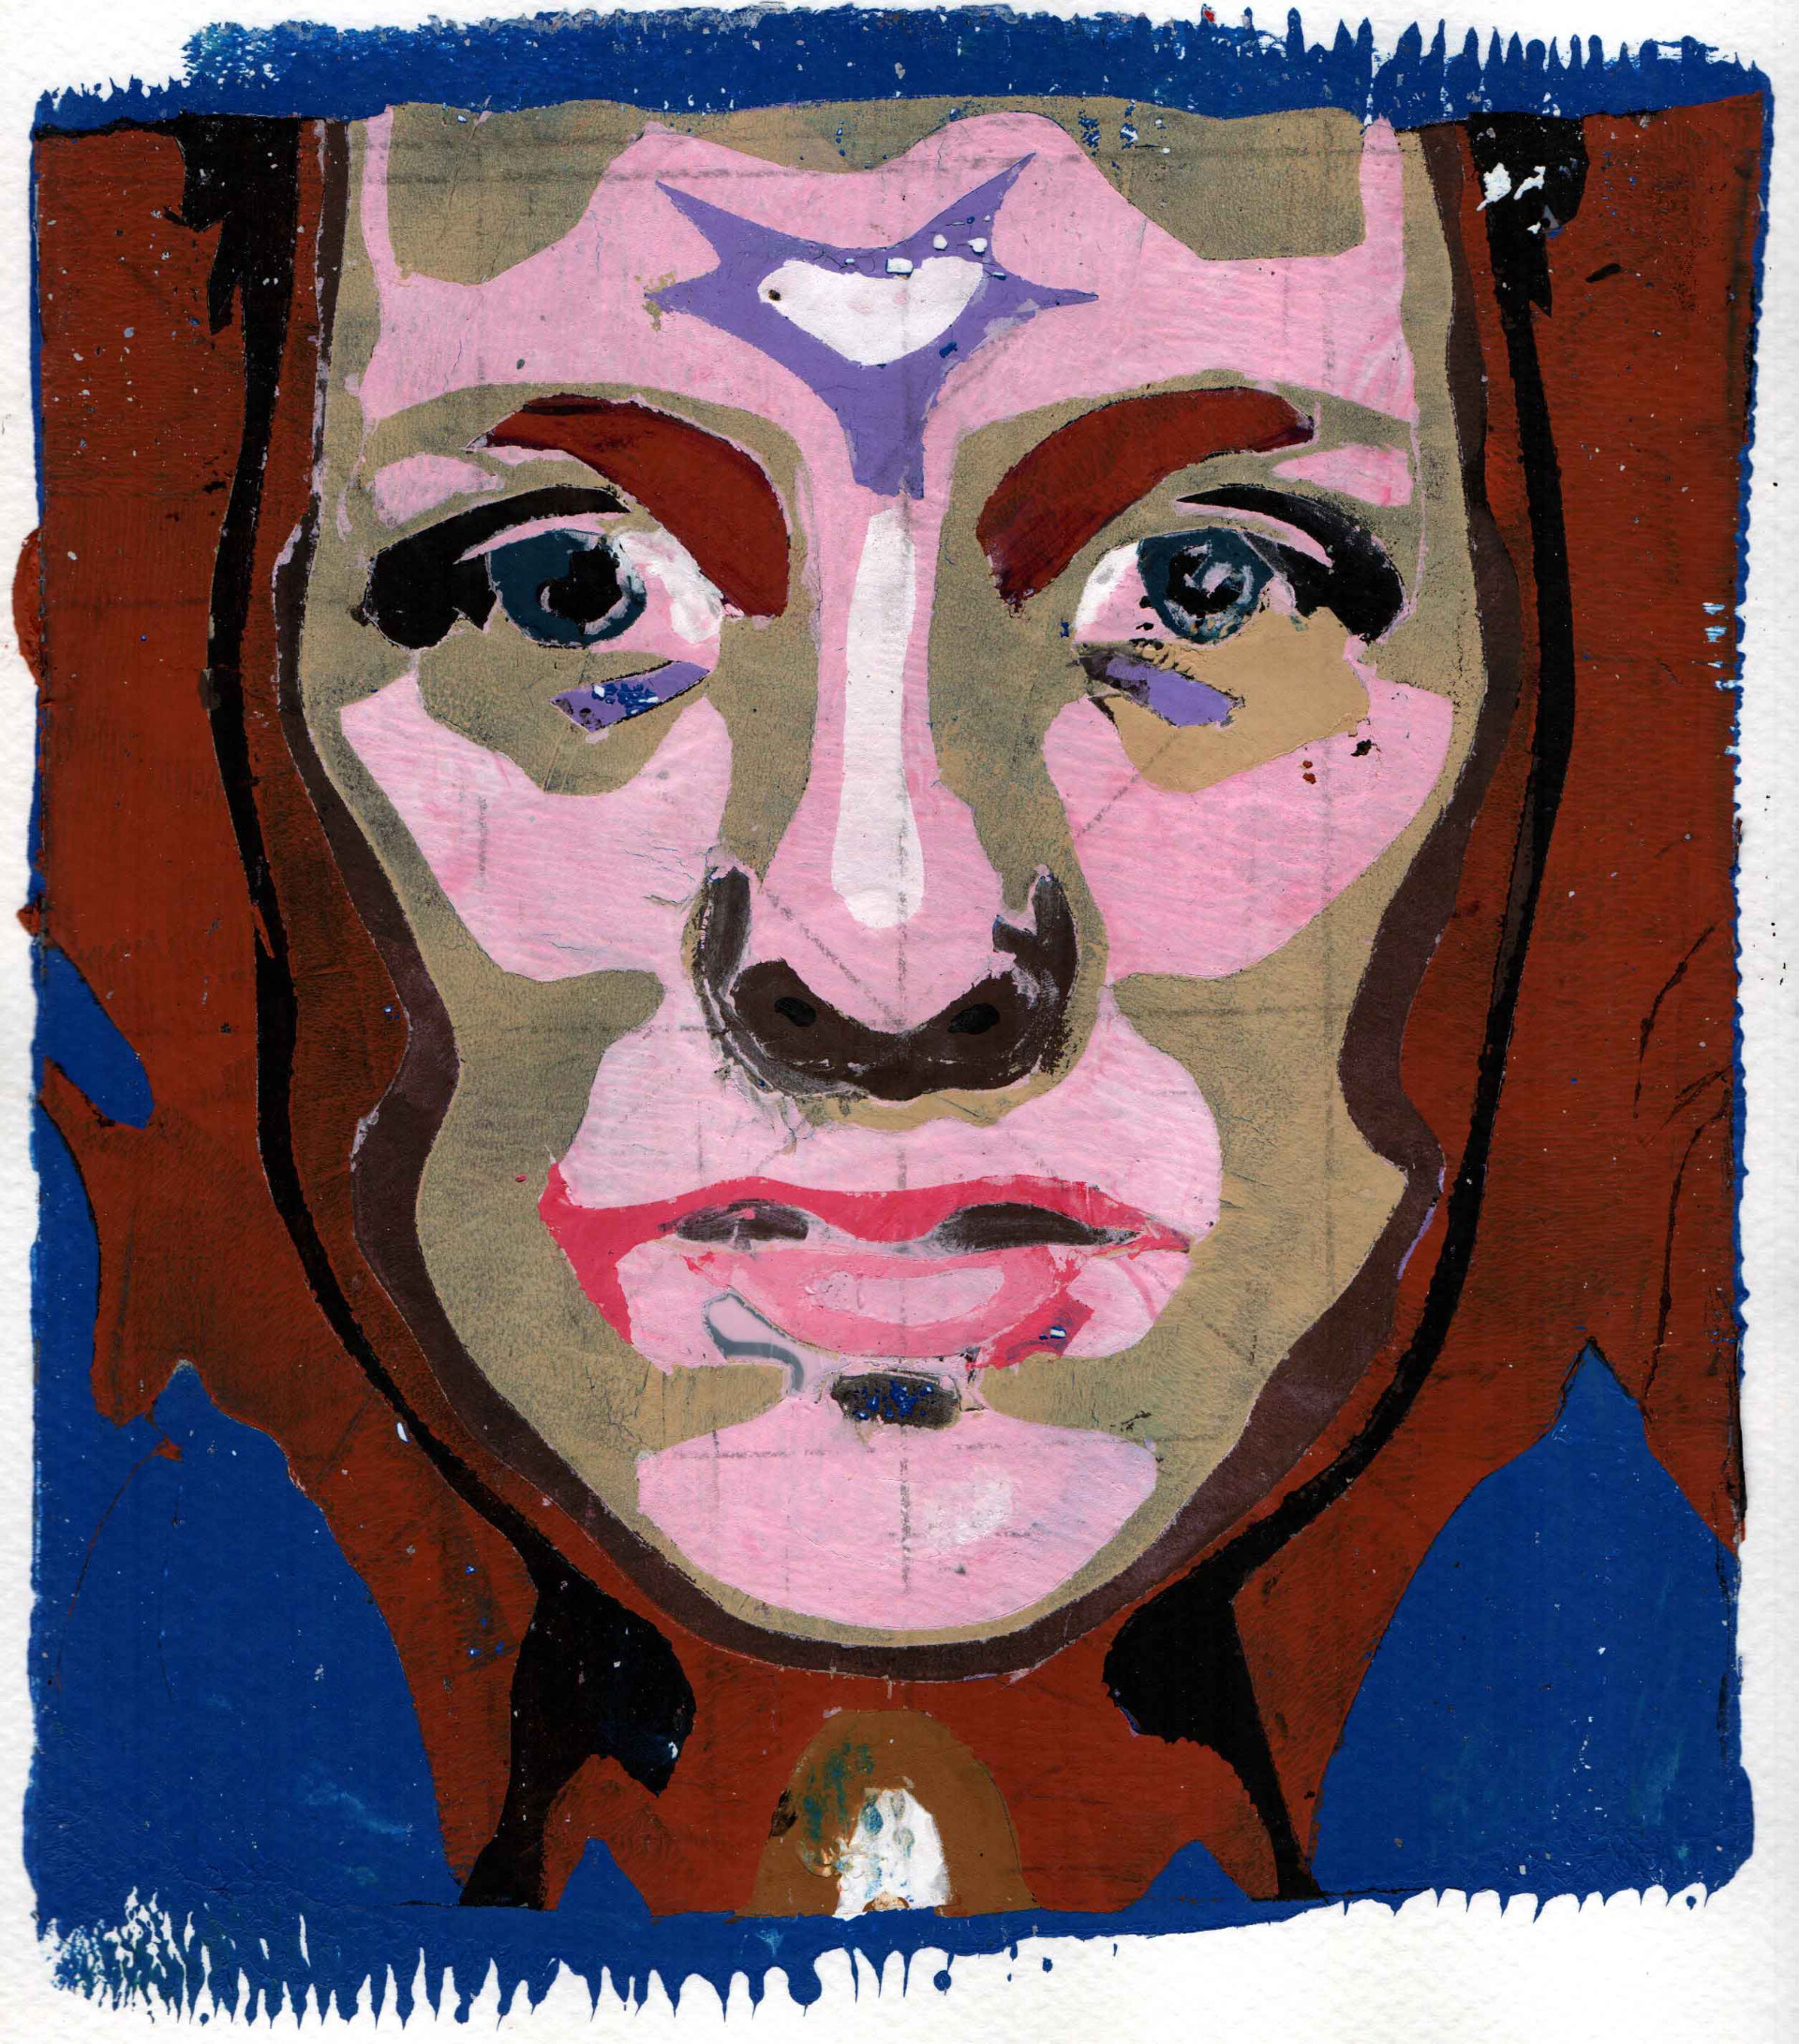
The next stage was to take the exploration deeper into the monotype print technique of gel plate printing via a mylar stencil. Again, this is a method that is often used by Josh and so I felt I needed to delve in and give it a try.
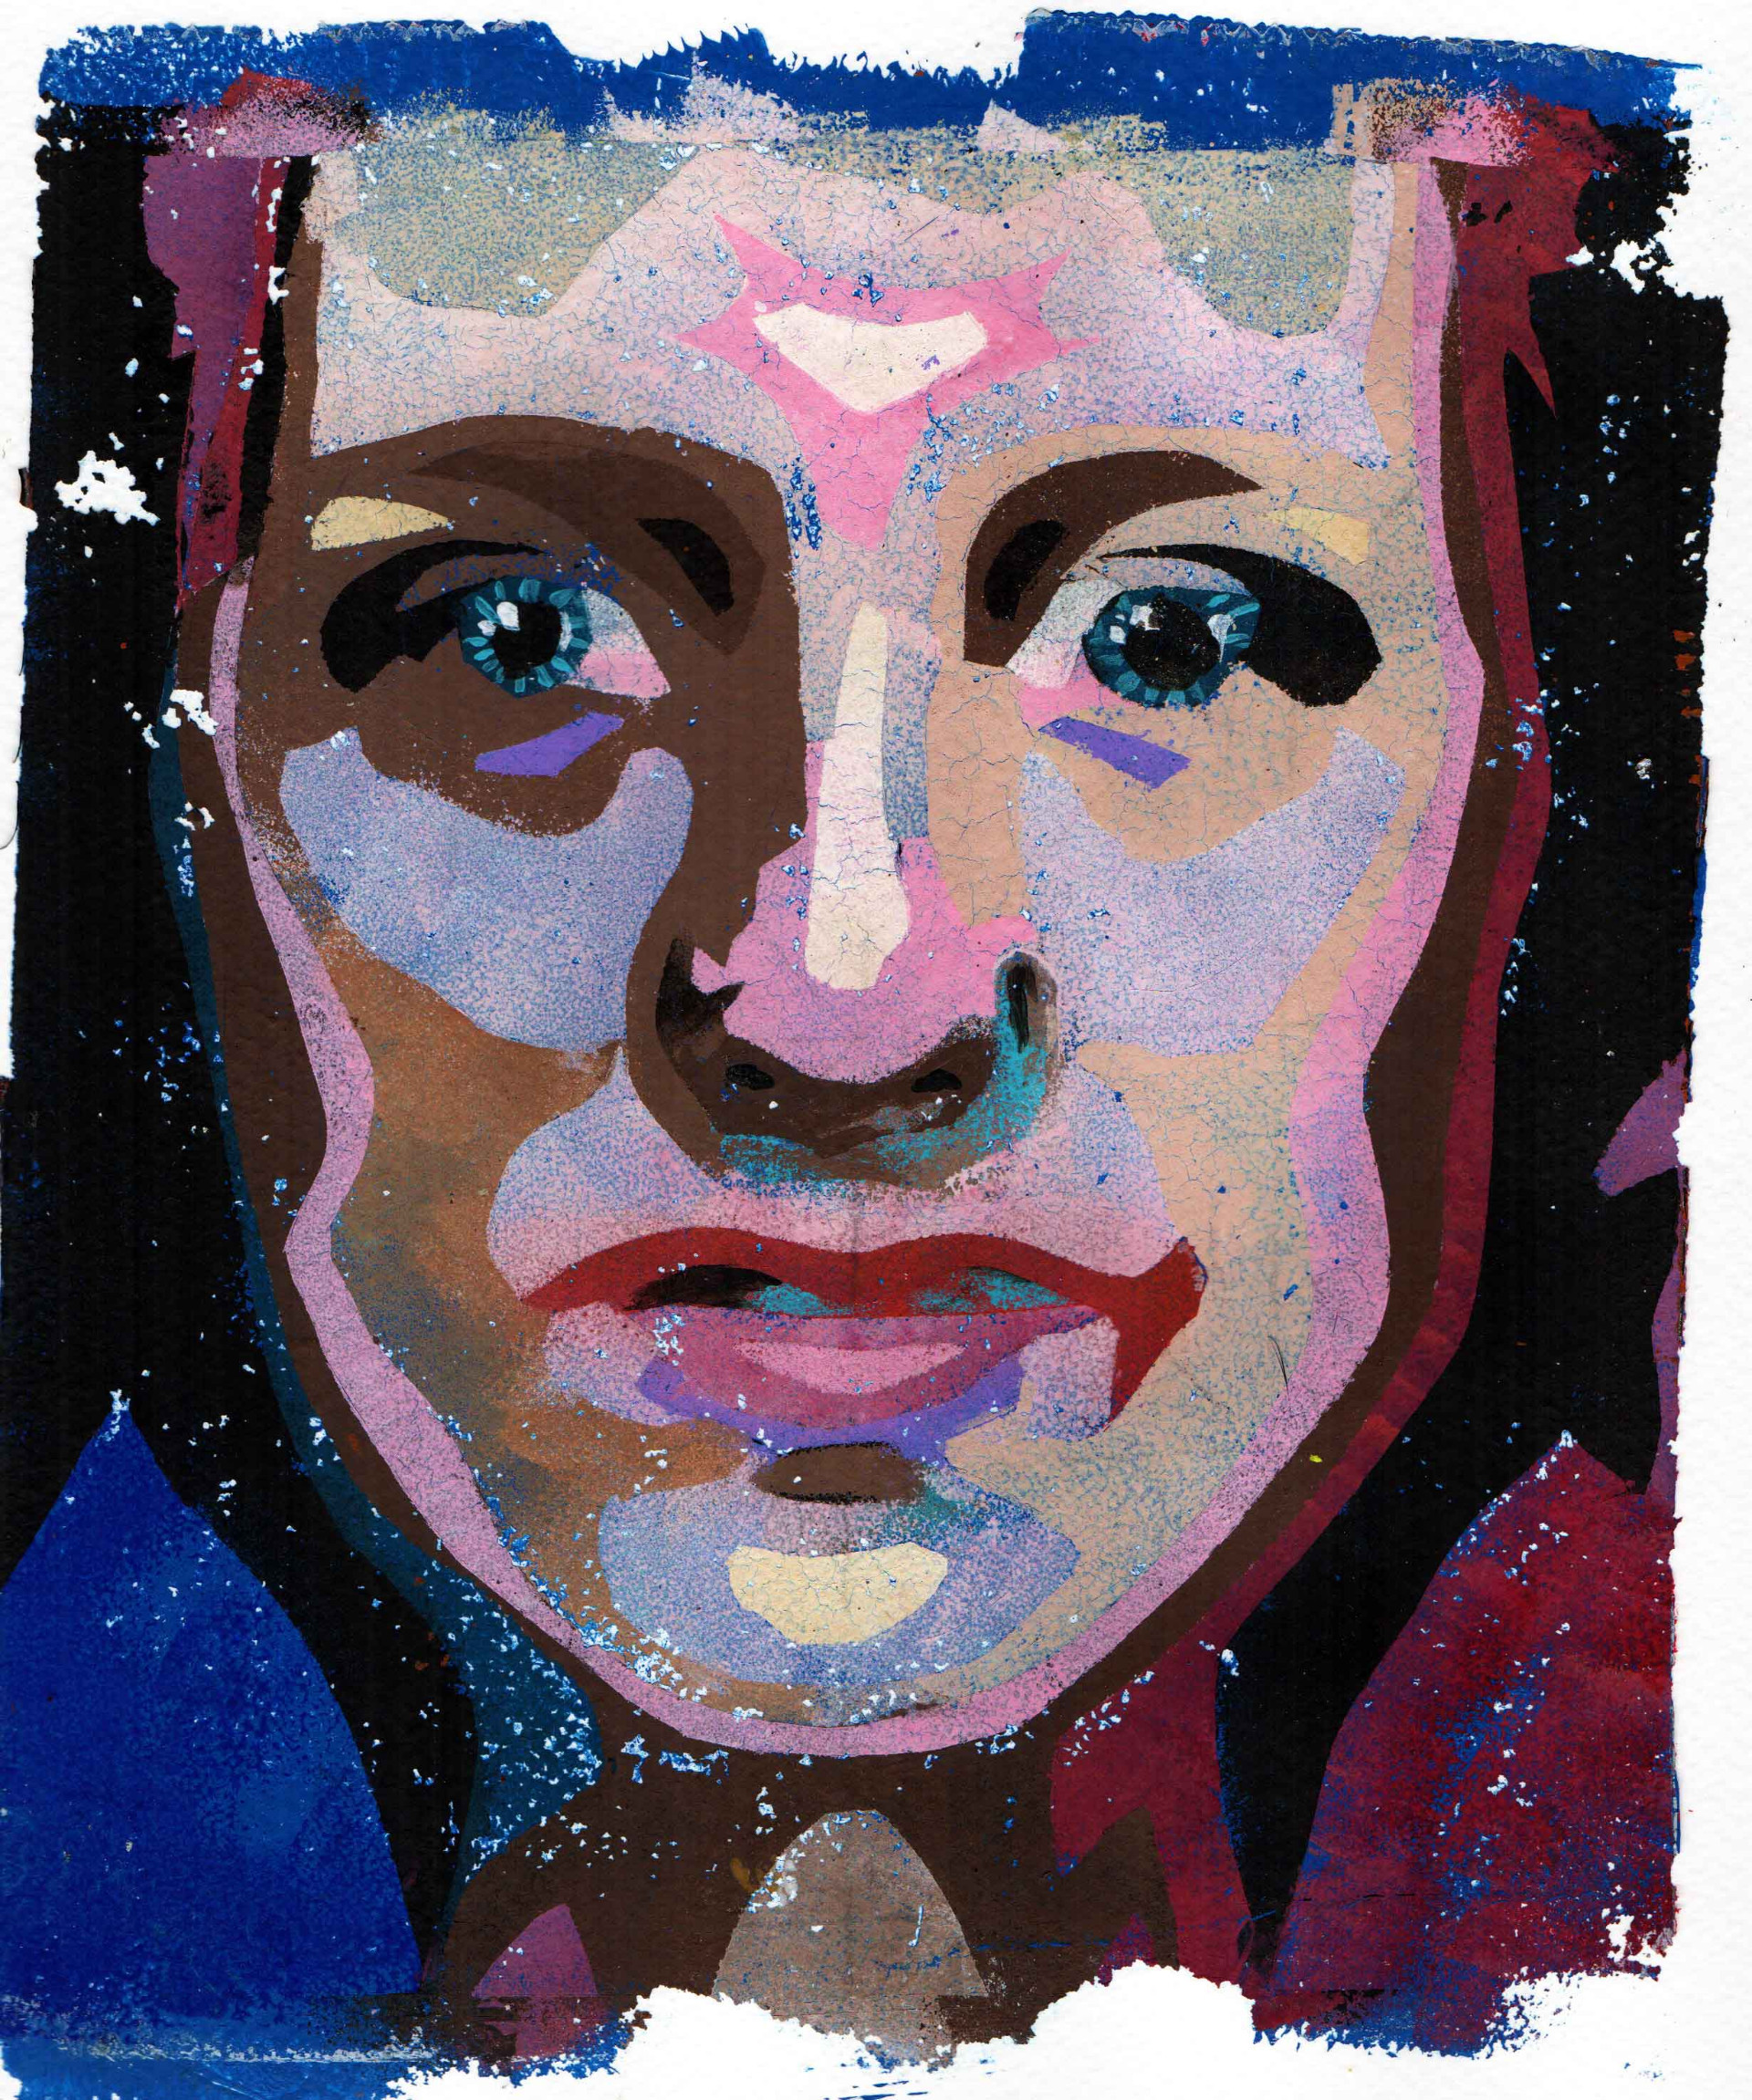
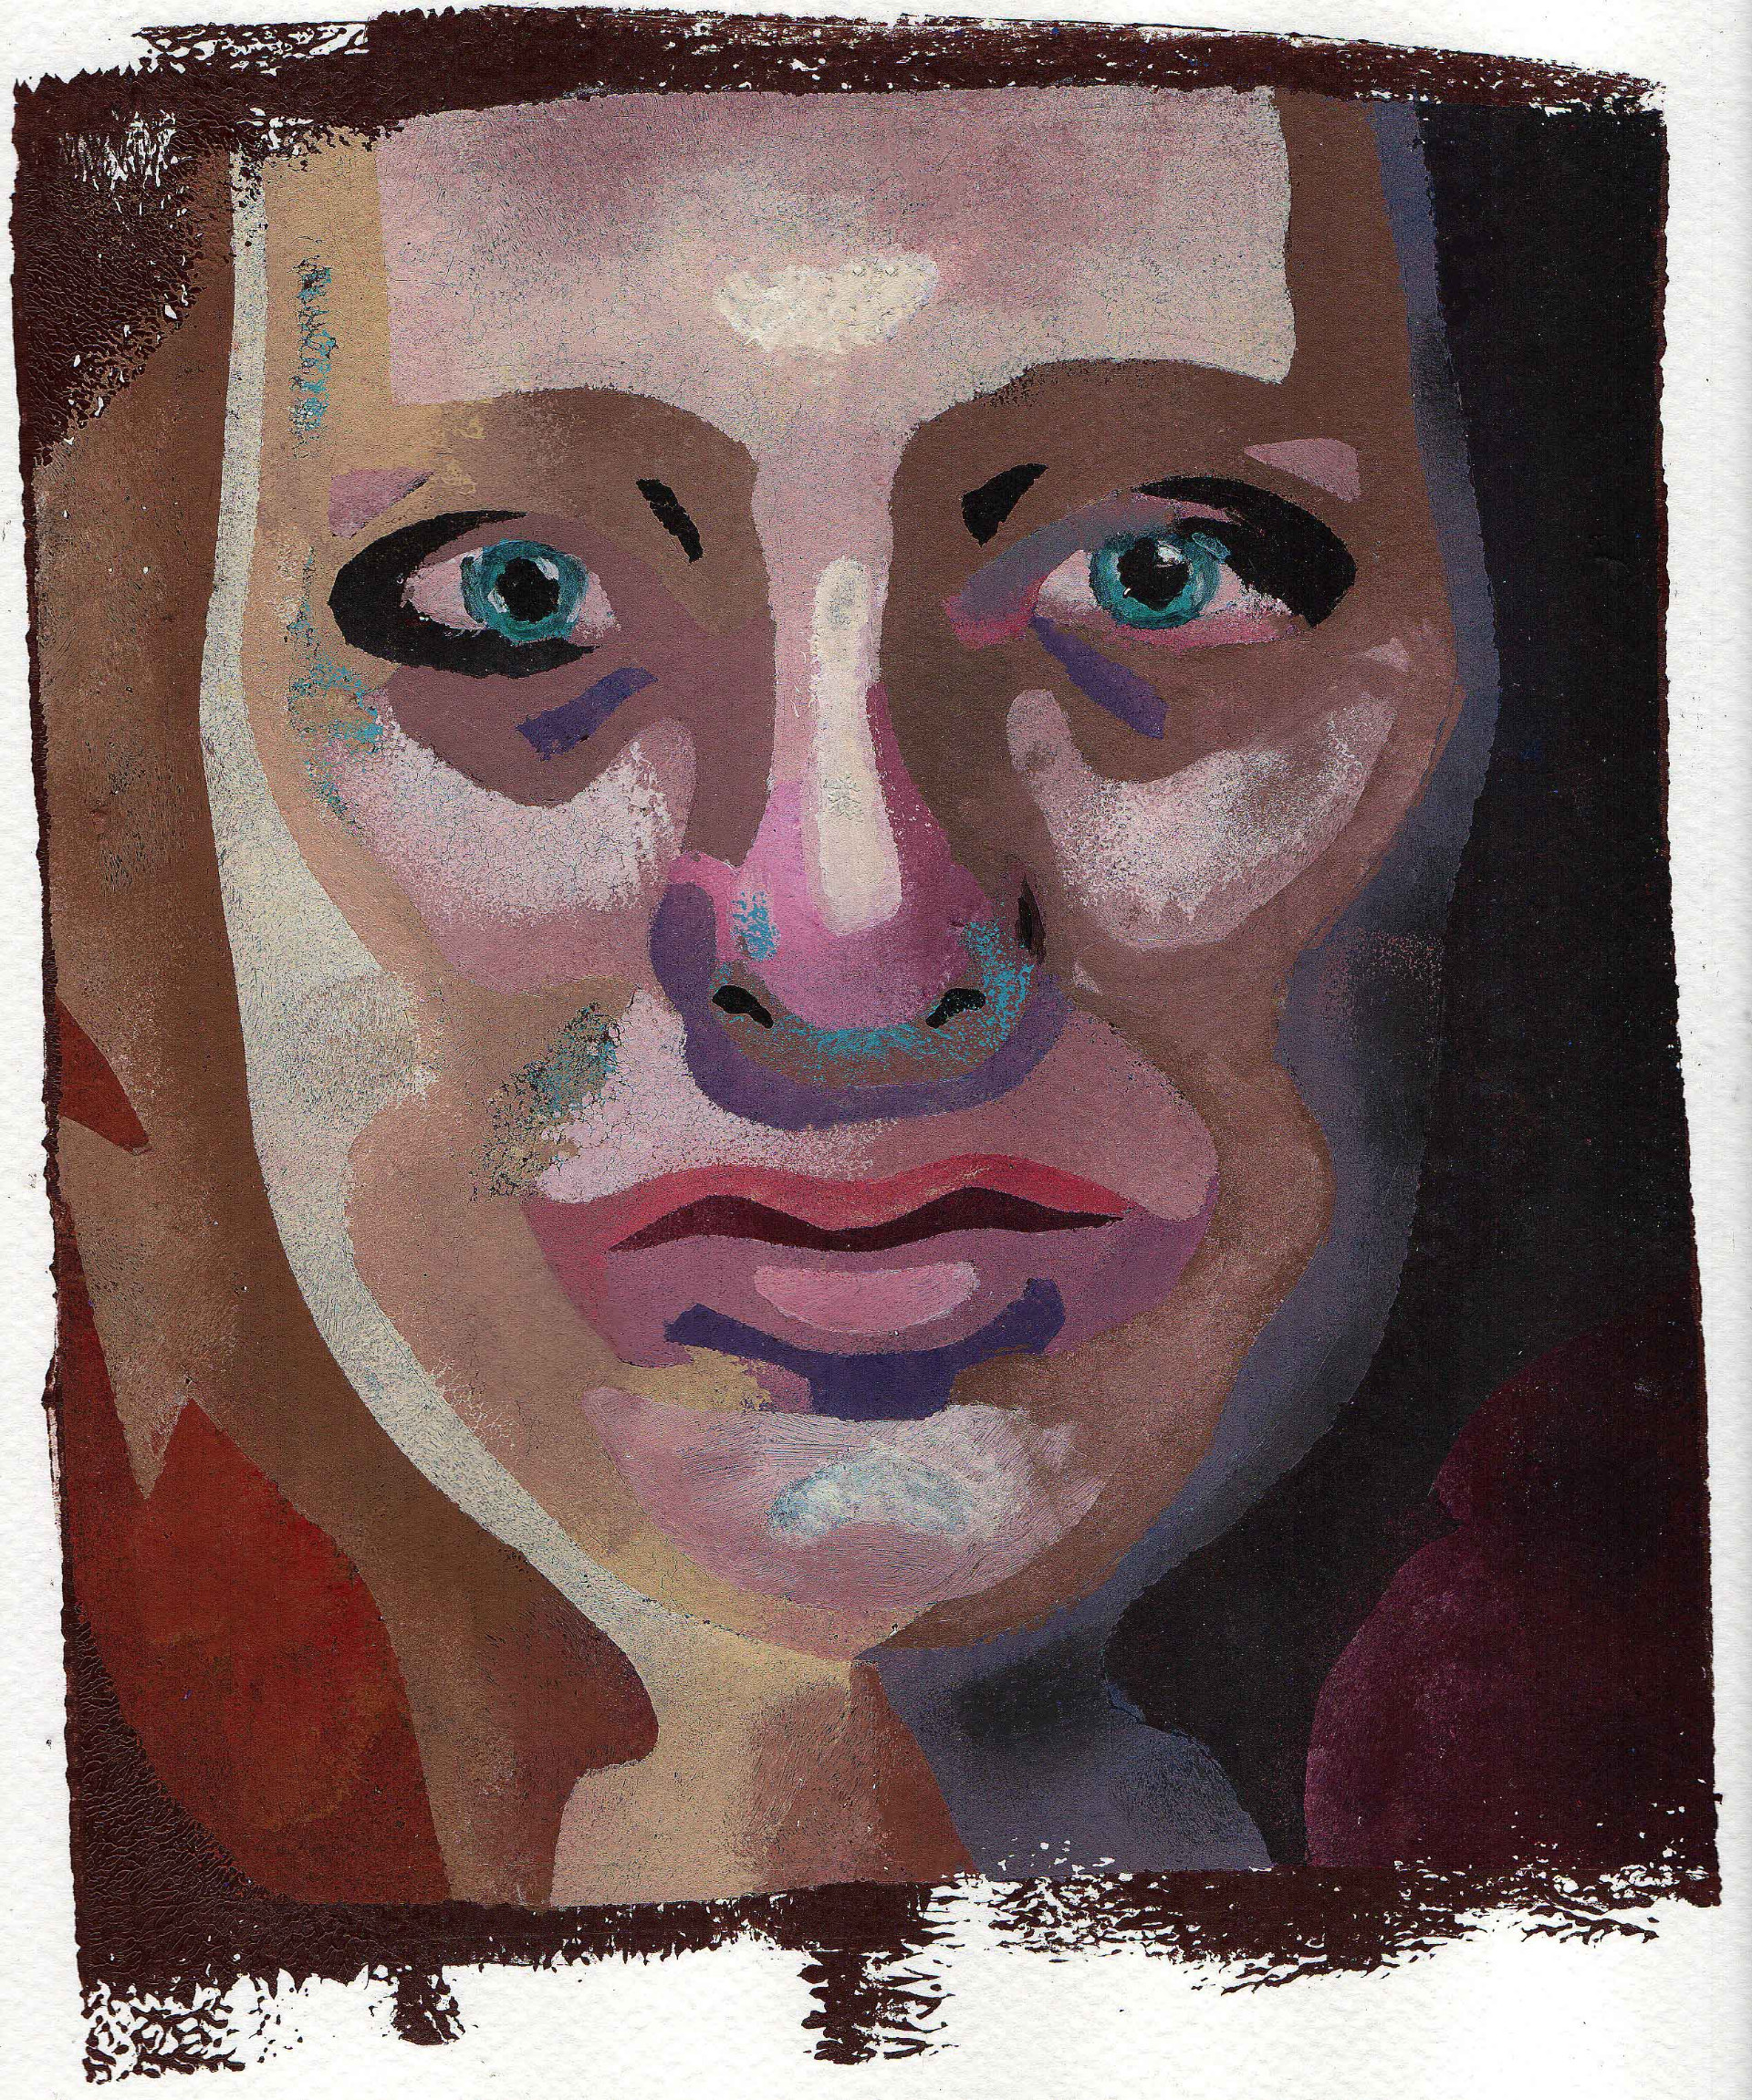
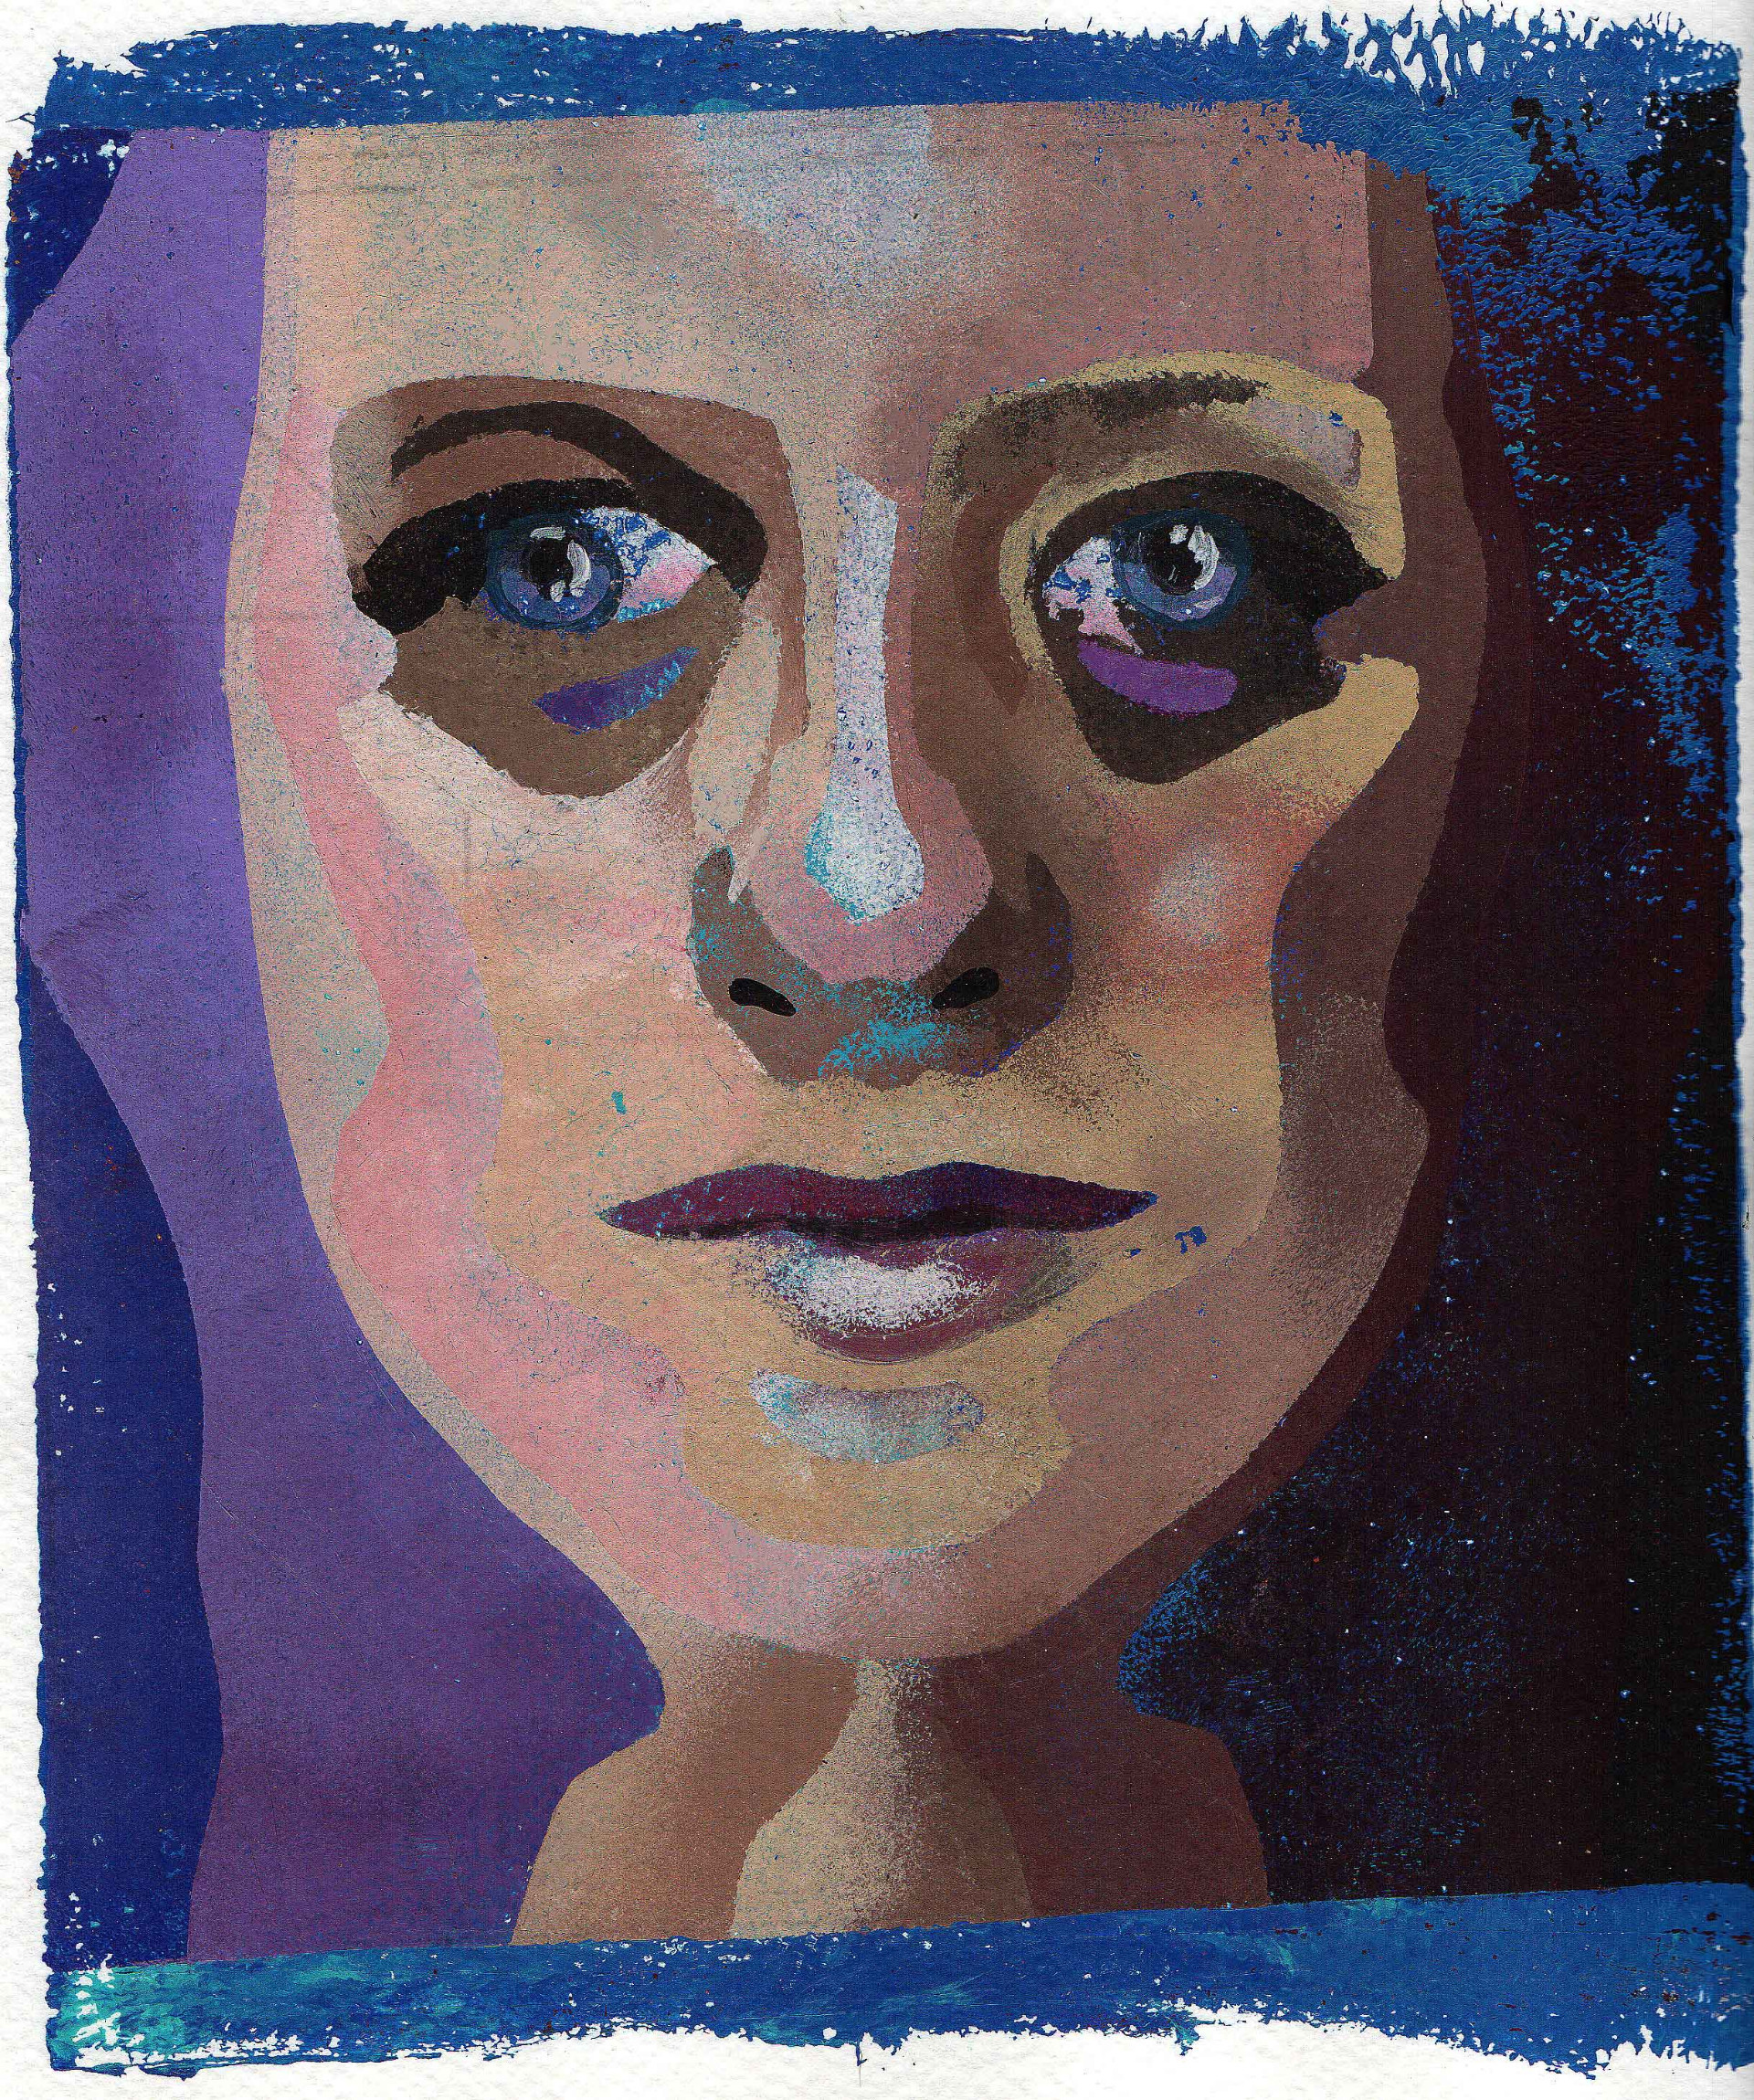
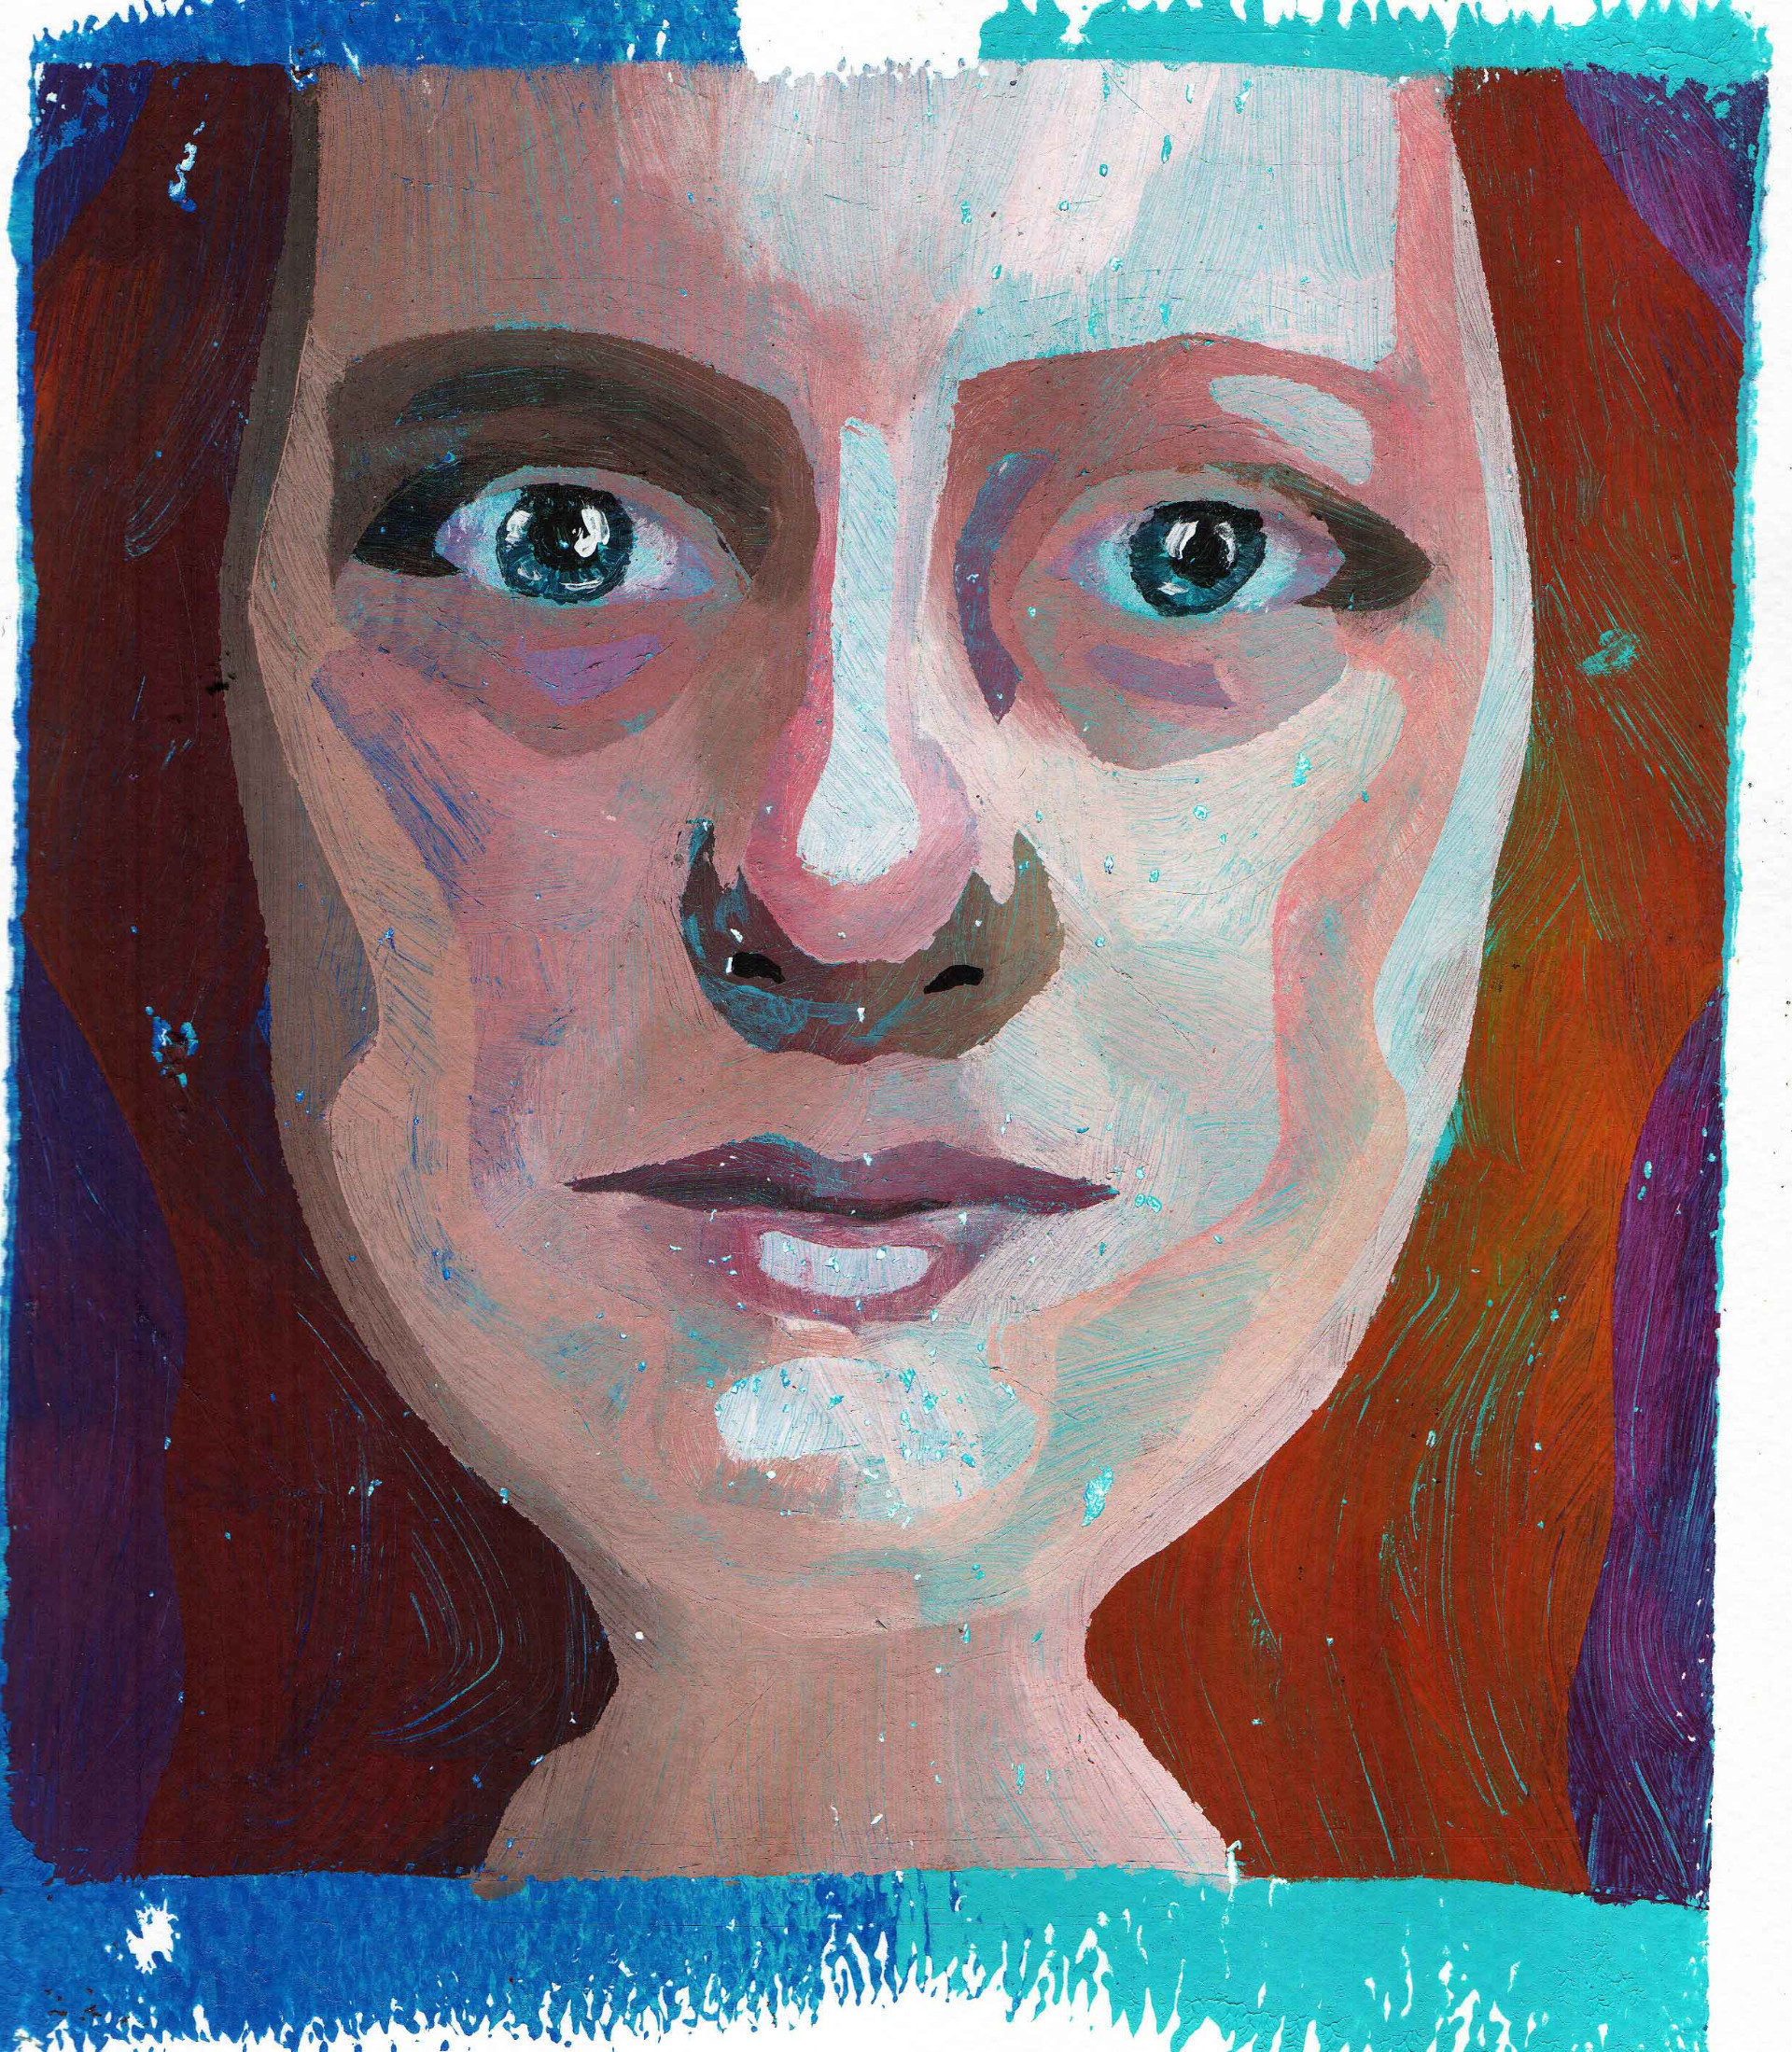
Below are 6 of my most successful attempts which I went on to use to create the panotrait in Part Two.
Please click on each of the images below to get a closer look but you can also view a timelapse video of them here
This is where it gets tricky to explain in words, so please do view the videos below to gain a better understanding but here goes...
The first step was to create a stencil using a mylar sheet, which is similar to drafting film but not as easy to draw on. However, I was able to get around that by tracing the lines of my drawing onto the mylar using a sharpie pen and a lightbox.
As each area of the face represents a different colour and tone, I needed to demarcate each area and cut them out as individual shapes following the traced contour lines. This was by far the most tricky part as I needed to place each cut shape of mylar directly onto the gel plate to re-assemble the features.
Next, came the painstaking operation of removing each piece of mylar and applying the various colours to the gel plate revealed by the removed piece of the stencil.
Please view the following videos which explains the whole process a lot better and also, drop me a line via the comments section of my channel if you want to ask me anything about it and I'll do my best to answer.
This video shows the process of making the stencil for the first gel plate print.
This video shows how I muddled my way through the process of the reduction print process.
This video shows how I went onto adapt and develop my own methods to achieve a range of successful prints.